The Hidden Dangers of Vacant Homes: Edmonton Snowbirds and the Risks of Dry Wax Seals in Toilets

Every winter, a significant number of Edmonton, Alberta, residents—commonly known as “snowbirds”—migrate south to escape the brutal Canadian winters. While this seasonal exodus to warmer climates like Arizona, Florida, or Mexico provides a much-needed respite from snow and ice, it also leaves homes in Edmonton unoccupied for extended periods. One of the most overlooked issues resulting from this is the drying out of toilet wax seals in these vacant homes, which can lead to severe water damage, mold, and even the need for extensive tile and substrate repairs.

Understanding the Snowbird Phenomenon in Edmonton

Snowbirds, typically retirees or semi-retirees, choose to spend the winter months in warmer regions to avoid the discomfort of Edmonton’s long, harsh winters. This lifestyle, while idyllic, requires homeowners to leave their properties vacant for several months—usually from November to April. During this time, the homes are left without the usual maintenance and checks, creating the perfect storm for various issues to arise, particularly in the plumbing and flooring areas.

The Role of the Toilet Wax Seal

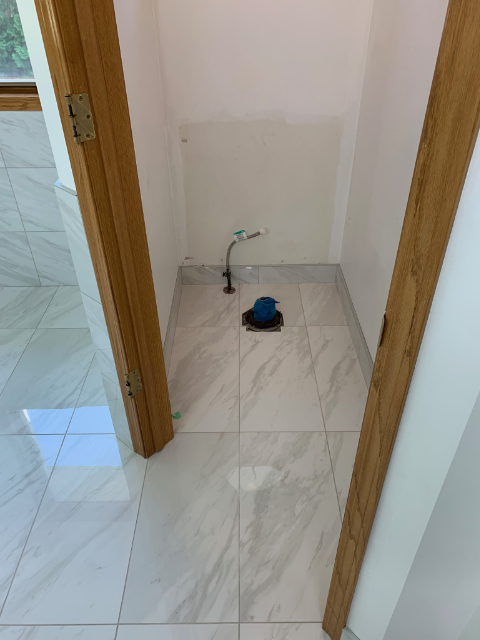
A toilet wax seal is a critical component in any bathroom, sitting between the toilet base and the flange on the floor. This ring of wax forms a watertight seal, preventing water from leaking out when the toilet is flushed and blocking harmful sewer gases from entering the home. However, this seal depends on regular use and moisture to remain effective.

The Problem with Vacant Homes

When a home is left unoccupied for months, the water in the toilet bowls and traps evaporates. This evaporation causes the wax seal to dry out and lose its flexibility. Without the necessary moisture, the seal can crack or become brittle, leading to a compromised seal. As a result, when the homeowners return and flush the toilet for the first time, water can leak from the base, leading to potential water damage and even more serious problems like mold growth and structural rot under the tile flooring.

The Risks of a Dry Wax Seal

The primary risk associated with a dry wax seal is water leakage, which can lead to substantial damage if not addressed quickly. Initially, the leak might be slow and almost undetectable, but over time, it can cause significant harm to the flooring, subflooring, and tiles. As a company specializing in tile installation and repair, we’ve seen firsthand the extent of the damage that can occur when these leaks go unnoticed.

Key Issues Arising from Dry Wax Seals:

1. Water Damage to Flooring: Prolonged water exposure can weaken and damage not only the tiles but also the underlying substrate, leading to loose tiles and even the need for complete floor replacement.

2. Mold Growth: One of the most common issues we encounter is mold developing underneath the tile. Mold thrives in damp, dark environments, and a slow, hidden leak from a compromised wax seal creates the perfect conditions for mold to spread, potentially causing health risks and necessitating expensive remediation.

3. Rotting of Substrate: The substrate, or the material beneath the tiles, can rot if exposed to moisture for an extended period. In some cases, the entire substrate may need to be removed and replaced, which is a labor-intensive and costly process.

4. Extensive Repairs and Renovations: When water damage is severe, it may require the demolition of existing tiles, treatment of mold, replacement of the rotted substrate, and installation of new tiles. This not only drives up the cost but also increases the time your home is out of use.

Real-Life Impact: A Case Study from Our Experience

At The Tile Installations Specialists, we recently handled a project that perfectly illustrates the dangers of dry wax seals for Edmonton snowbirds. The homeowner had left their property vacant for several months while wintering in Arizona. Upon their return, they noticed water pooling around the base of the toilet and immediately contacted us for an inspection.

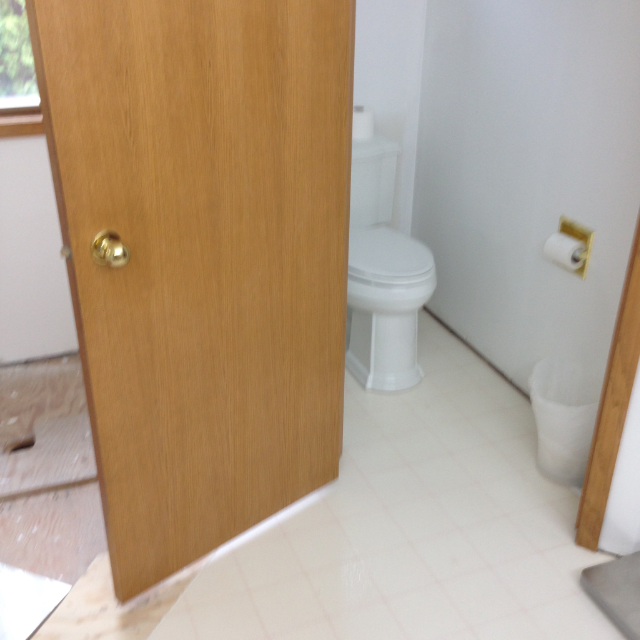
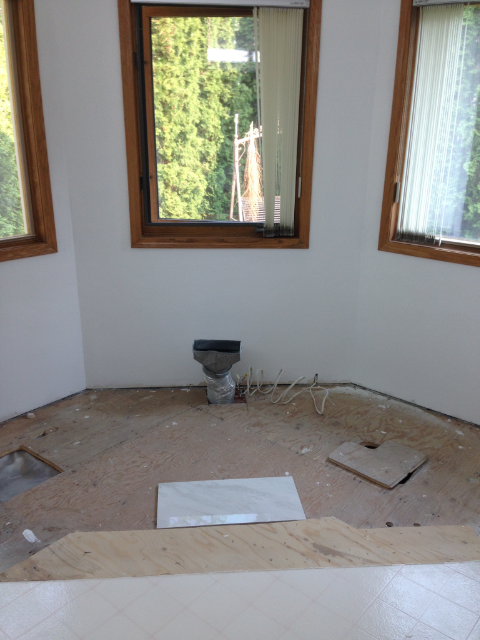
Before Renovation

During our initial assessment, we discovered that the toilet wax seal had dried out, leading to a slow, undetected leak. Over the months, this leak had caused significant water damage to the tile flooring, and mold had begun to grow beneath the surface. Worse, the moisture had also led to the rotting of the wooden substrate underneath the tiles.

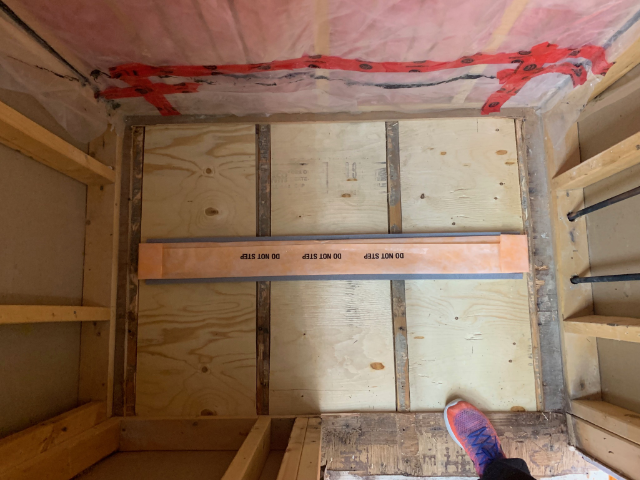
During the Process

We began by carefully removing the tiles to expose the extent of the damage. As suspected, the mold had spread extensively, and the substrate was beyond repair. Our team undertook the task of safely removing the mold and completely replacing the damaged substrate.

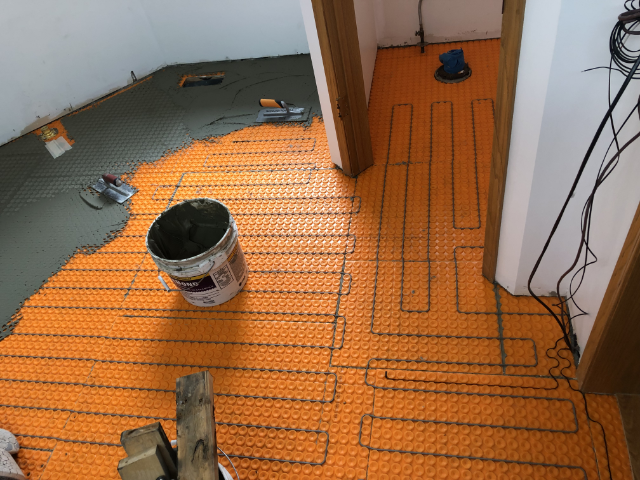
Replacing the Substrate

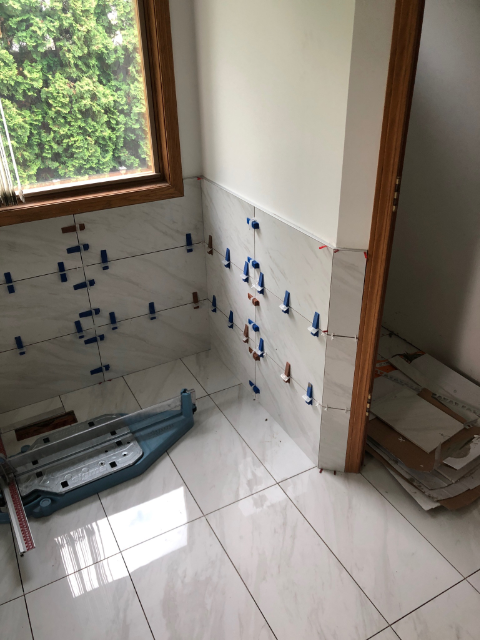
Once the mold was treated and the substrate replaced, we proceeded with re-tiling the floor. We used high-quality tiles and grout to ensure durability and to restore the bathroom to its former condition.

Finished Project

The final result was a beautifully restored bathroom, free from mold and water damage. The homeowners were relieved to have the issue resolved and were extremely satisfied with the quality of the work.

If you happen to be in this situation go here and request an estimate and we are happy to walk you through the process.

Preventative Measures for Snowbirds

To avoid the risks associated with dry wax seals, and the extensive damage they can cause, Edmonton snowbirds can take several preventative steps before leaving for their winter retreat:

1. Turn Off the Water Supply: Shutting off the main water supply and draining the pipes can help prevent leaks during your absence.

2. Add Water or RV Antifreeze to Toilet Bowls: Adding RV antifreeze to the toilet bowls and traps can prevent water from evaporating, keeping the wax seal moist.

3. Seal the Toilet Bowl: Placing plastic wrap or a specialized cover over the toilet bowl can slow evaporation. When combined with antifreeze, this method can protect your wax seal throughout the winter.

4. Arrange for Regular Home Check-Ins: Having someone check on your home periodically can help detect issues early. Regular flushing of toilets during these visits can prevent the wax seal from drying out.

5. Upgrade to Advanced Toilet Seals: Consider replacing traditional wax seals with newer materials like rubber or foam gaskets, which are less prone to drying out and offer a more durable solution.

Addressing the Problem Upon Return

If you return from your winter escape and find that your toilet is leaking, it’s essential to address the issue promptly to avoid further damage:

1. Inspect for Leaks: Check the area around the toilet base for signs of water leakage. Look for damp spots, loose tiles, or musty odors indicating mold growth.

2. Replace the Wax Seal: If you detect a leak, the wax seal likely needs replacement. This involves removing the toilet, scraping away the old wax, and installing a new seal. Given the complexity, hiring a professional plumber or tile specialist is often the best course of action.

3. Assess the Extent of Damage: After replacing the seal, it’s crucial to inspect the surrounding flooring and substrate for any signs of water damage or mold. If damage is present, professional remediation may be necessary, including the removal and replacement of tiles and the underlying substrate.

4. Consider Full Restoration Services: If your home has sustained significant damage, our company offers comprehensive restoration services. We handle everything from mold treatment and substrate replacement to re-tiling and reinstallation of bathroom fixtures, ensuring your home is safe, sound, and beautiful.

Conclusion

For Edmonton snowbirds, the joy of escaping winter’s chill comes with the responsibility of ensuring their homes remain protected while unoccupied. One of the most significant risks involves the drying out of toilet wax seals, which can lead to leaks, mold, and extensive damage to the tile flooring and substrate.

By taking proactive steps before leaving and addressing any issues promptly upon return, you can protect your home from the hidden dangers associated with dry wax seals. If you do find yourself facing water damage, mold, or rot beneath your bathroom tiles, The Tile Installations Specialists is here to help. We specialize in restoring damaged bathrooms to their former glory, ensuring that your home is ready to welcome you back from your winter retreat without a hitch.

Why Should I Tile My Kitchen Backsplash?

Your kitchen is one of the most important spaces in your home, where you prepare meals and spend time with family and friends. As Tilers ourselves, we agree! It’s important that your kitchen reflects your personal style and makes you feel comfortable and at ease. One way to enhance the appearance of your kitchen is by installing a tile backsplash.

A backsplash is a vertical extension of the countertop that protects the wall from splatters and spills. A tile backsplash not only adds a protective layer to your kitchen but also enhances the aesthetics of the space. Here are some reasons why you should consider tiling your kitchen backsplash:
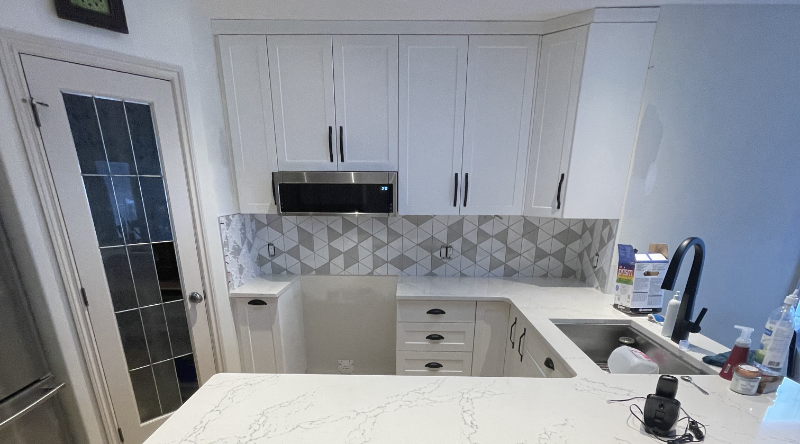
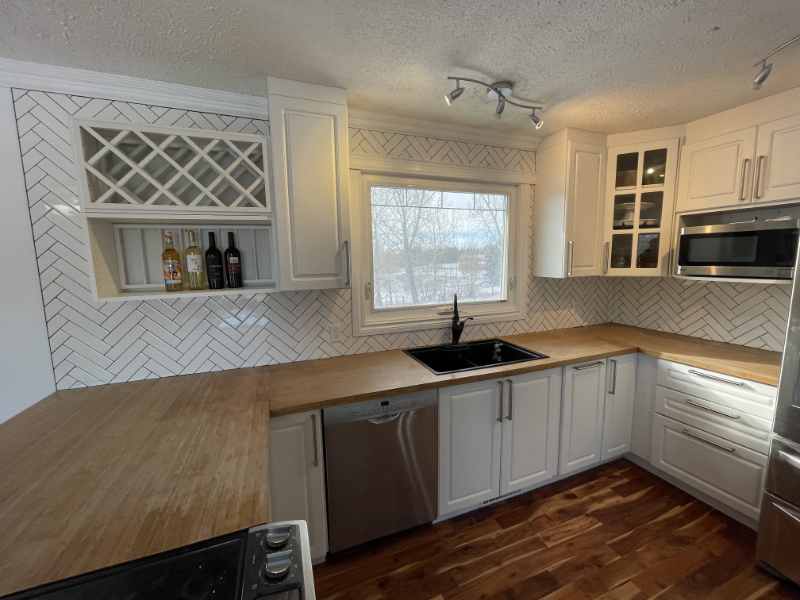
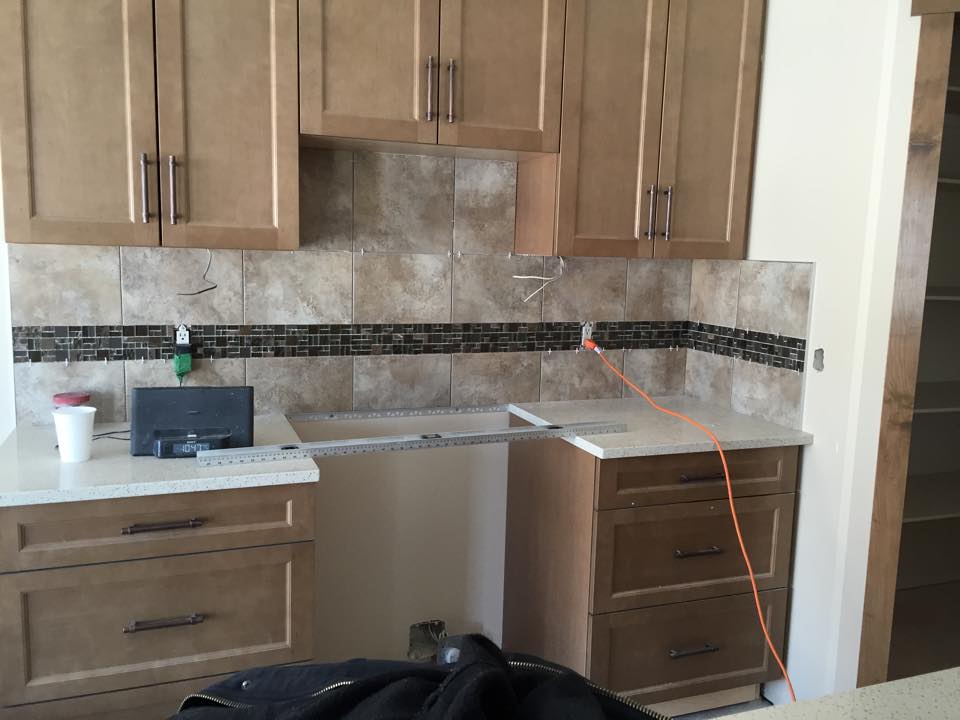
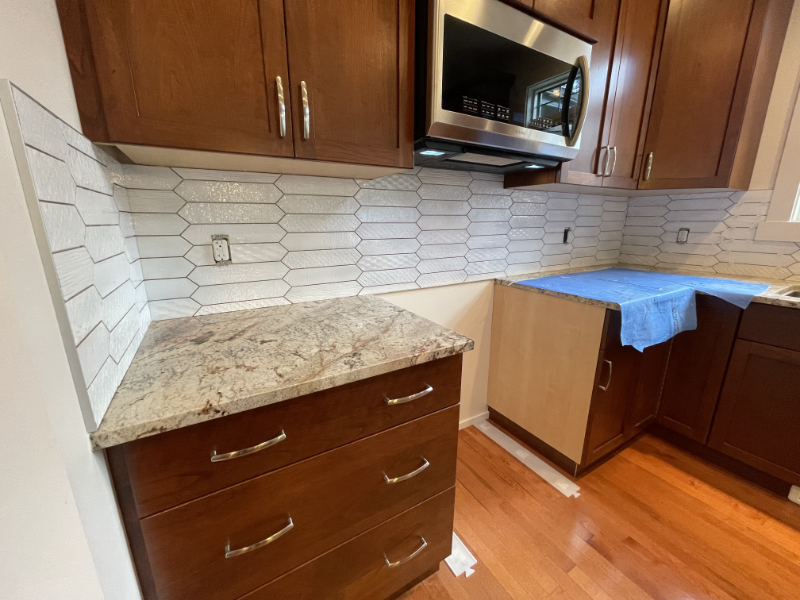
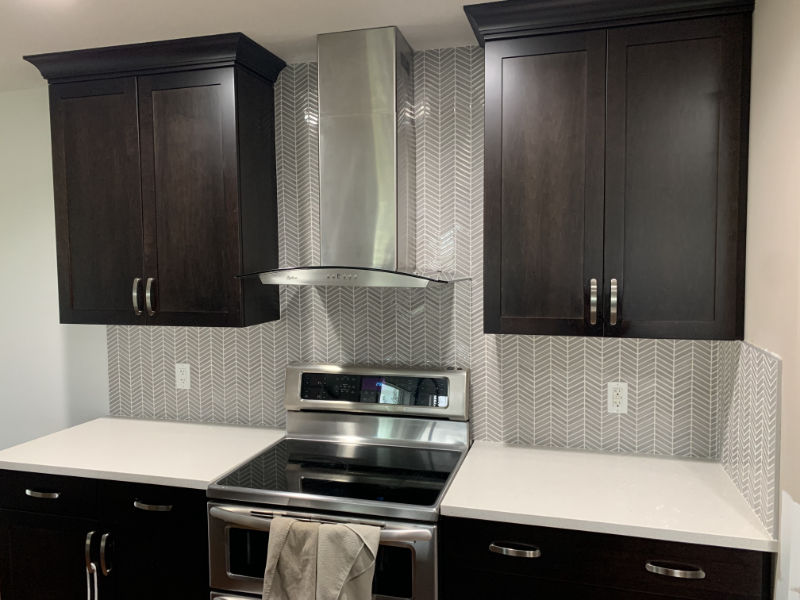
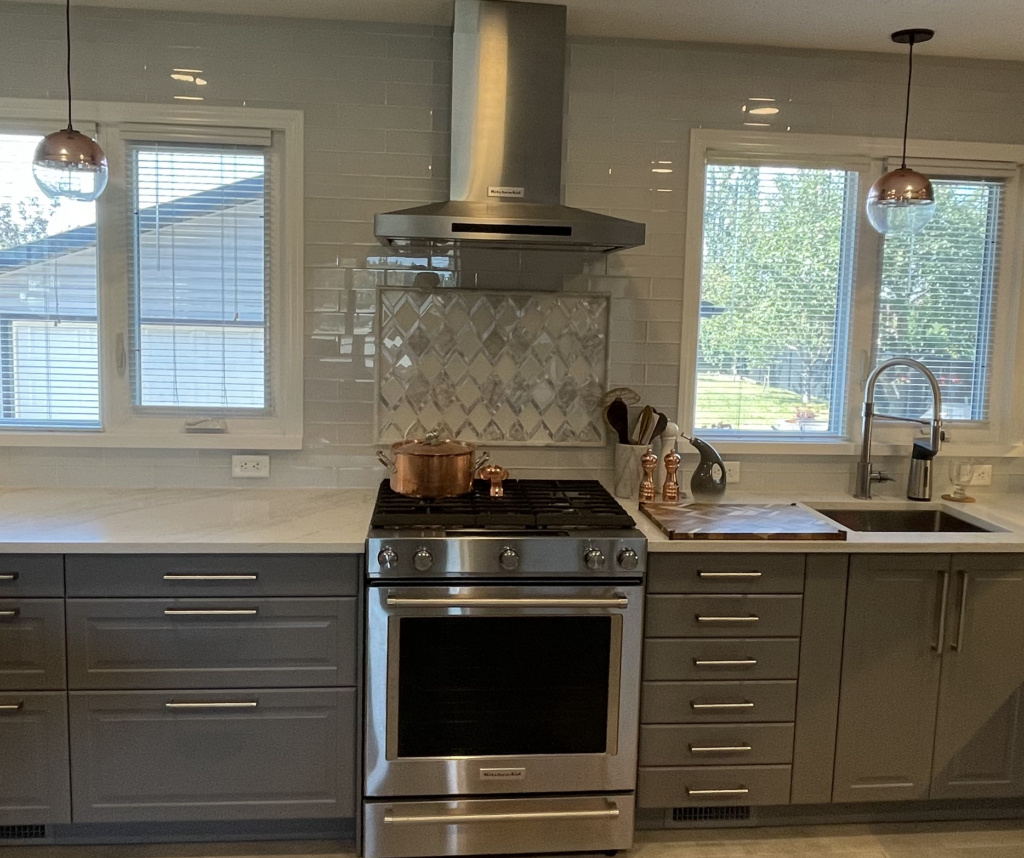
Kitchen Backsplash designed in house

Protects your walls

Cooking can be a messy affair, with oil, sauce, and other ingredients splattering all over the place. A tile backsplash acts as a barrier that protects your walls from damage caused by splatters and spills. It’s much easier to wipe down and clean a tiled surface than a painted or wallpapered wall.

Adds style and character

A tile backsplash can add a lot of style and character to your kitchen. Tiles come in a wide range of colors, patterns, and textures, which can complement or contrast with your existing décor. You can choose a neutral color to create a subtle backdrop for your kitchen, or a bold pattern to make a statement.

Easy to clean

Cleaning a tiled backsplash is easy and hassle-free. Tiles are non-porous, which means they don’t absorb moisture or stain easily. All you need is a damp cloth or sponge to wipe down the surface and keep it looking clean and fresh.

Enhances the value of your home

If you’re planning to sell your home in the future, a tile backsplash can increase its resale value. A well-designed and installed backsplash can be a major selling point for potential buyers, especially if it complements the overall style of the kitchen.

Budget-friendly

Tiling your kitchen backsplash can be a cost-effective way to update the look of your kitchen without breaking the bank. Tiles are available at a range of price points, so you can choose a style and quality that fits your budget.

In conclusion, tiling your kitchen backsplash is a great way to protect your walls, add style and character to your kitchen, make cleaning easier, enhance the value of your home, and do it all within a reasonable budget. So, if you’re looking to update your kitchen, consider installing a tile backsplash – you won’t regret it! Find a Tiler near you and get your project started. Or if you are going to do it yourself keep looking on our Blog

What Are the Latest Trends in 2023 Tile Shower Design?

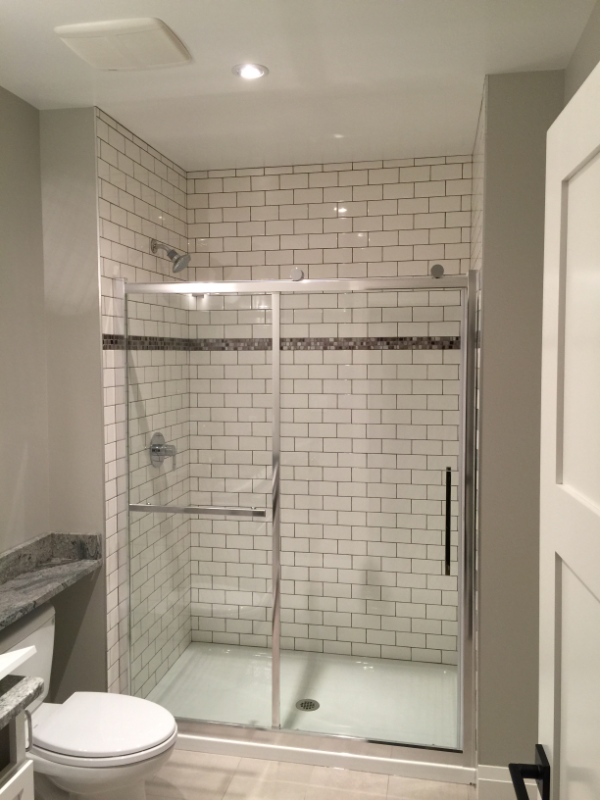
Tile showers are making a big comeback in the bathroom design world. From classic subway tiles to modern hexagons, there is a plethora of tile options for shower design. But what are the latest trends in tile shower design?
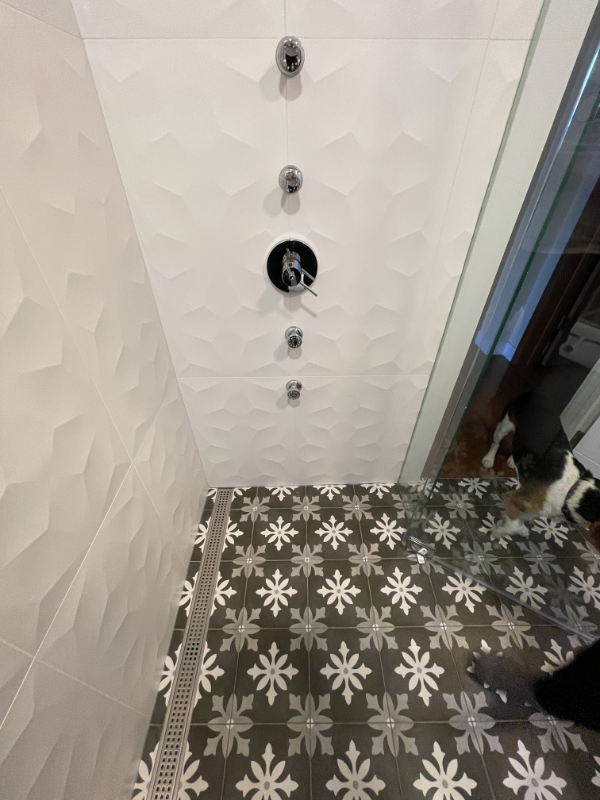
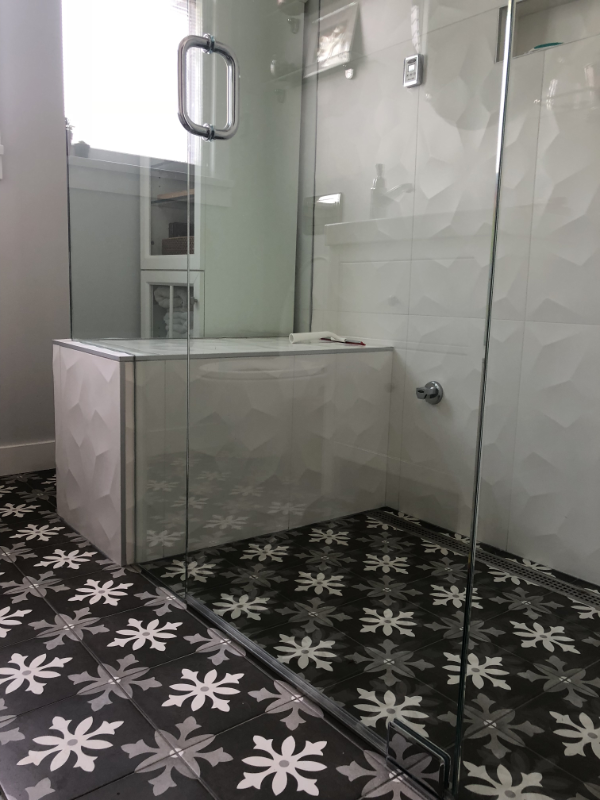
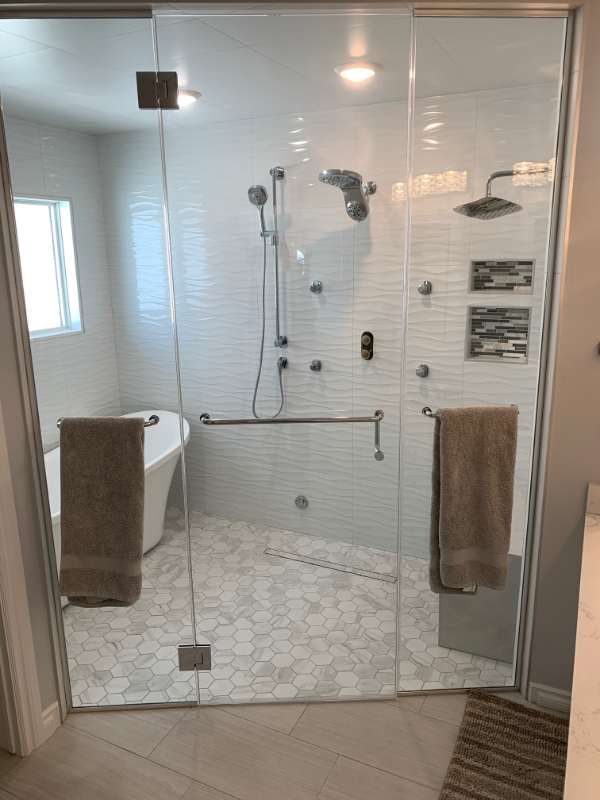
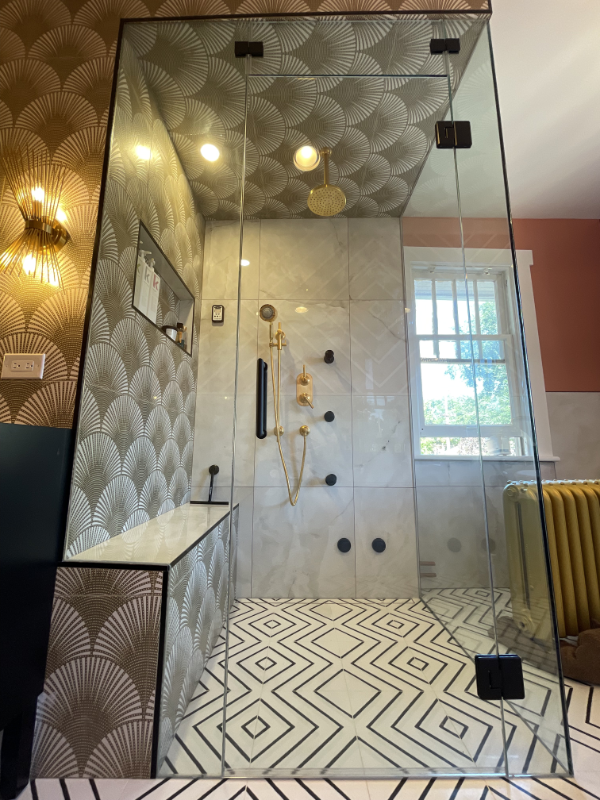
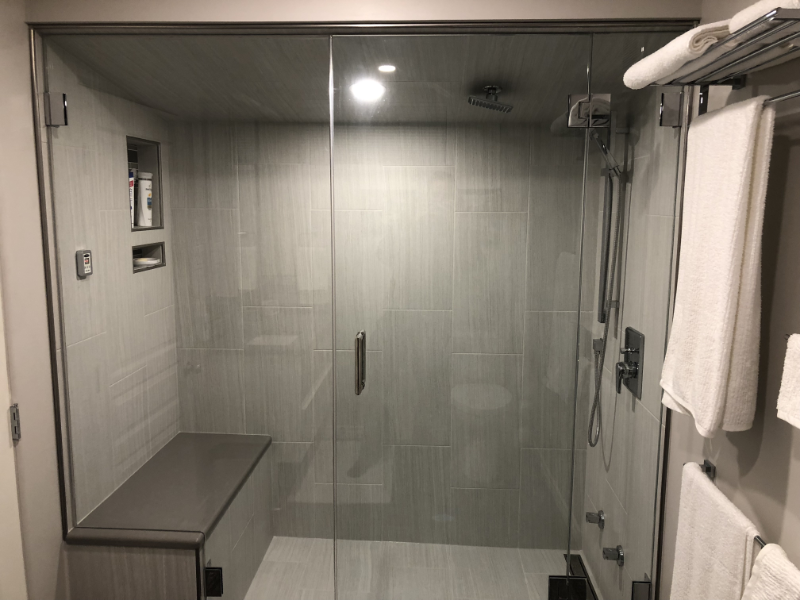
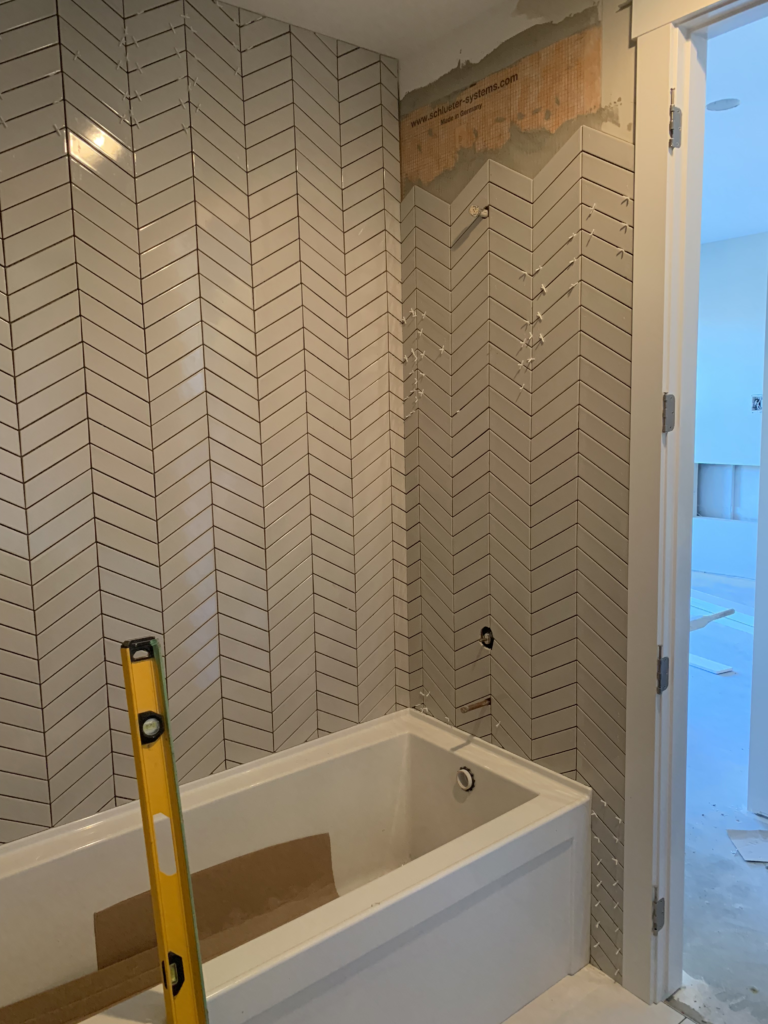
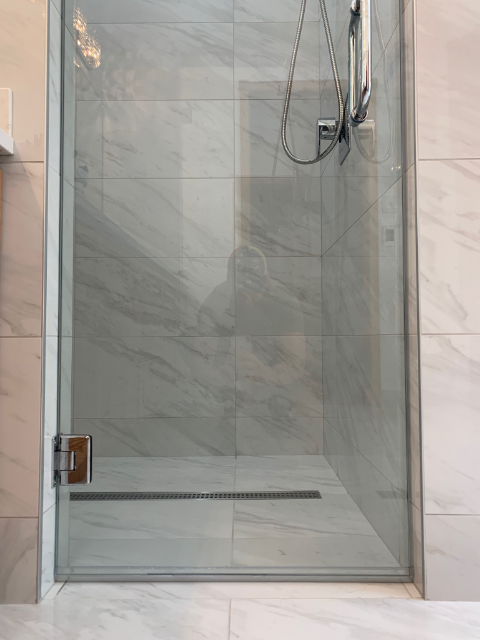
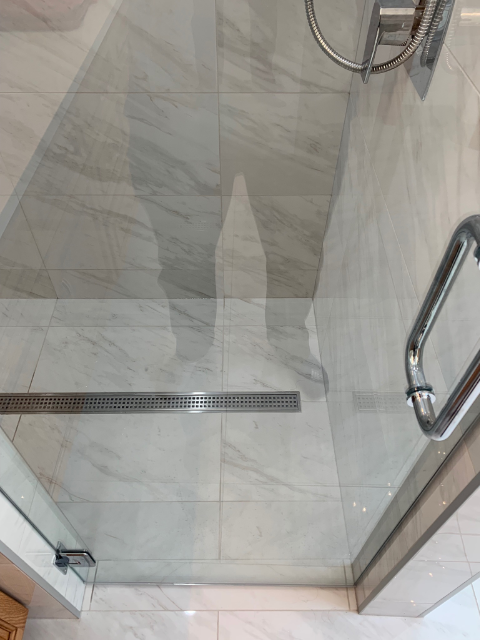
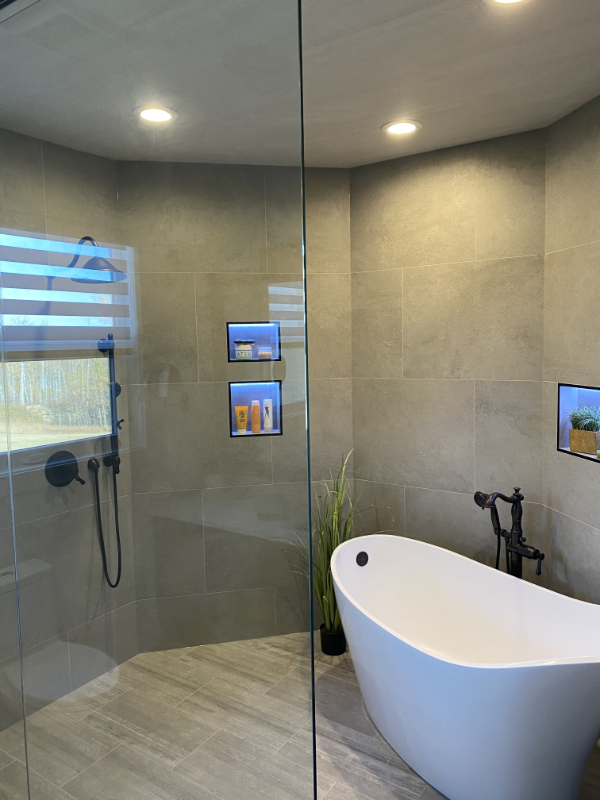
When it comes to tile shower design, there are a few trends that are gaining traction. First, the use of large format tiles is becoming increasingly popular. These larger tiles create a sleek, modern look that is perfect for a luxurious shower space. Go ahead and check out more of our projects to see other shower designs Additionally, geometric patterns and shapes are being used to add visual interest to shower walls. Whether it’s mosaics, hexagons, or chevrons, these shapes can make the shower feel more unique and dynamic.

The use of Large Format Tiles is becoming increasingly popular

Another trend that is gaining popularity is the use of mixed materials. Combining materials such as stone, marble, and wood can create a stunning, high-end look. For a more subtle touch, consider using tiles with a glossy finish, as this can add a touch of glamour to your shower.

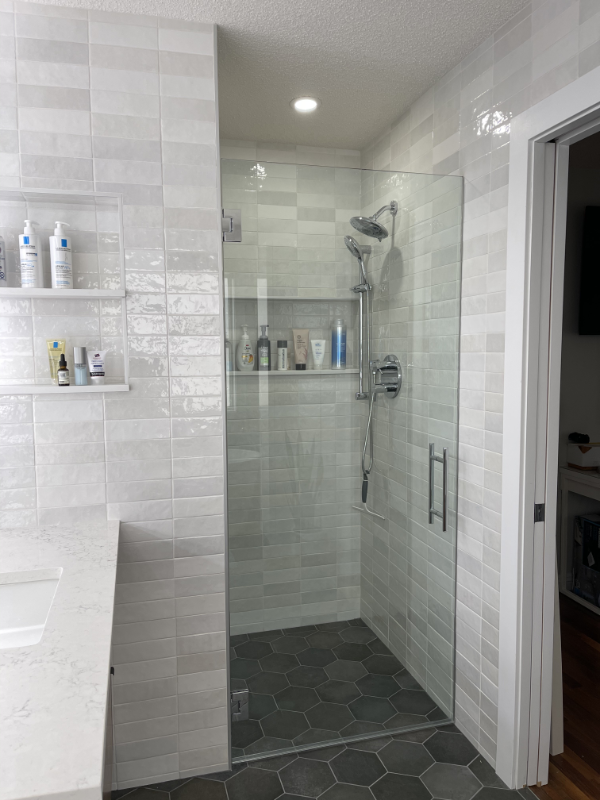
Hexagonal tiles are becoming a popular choice for shower design

Finally, hexagonal tiles are becoming a popular choice for shower design. This hexagonal shape is a versatile option that can be used in a variety of ways. Whether it’s used to create a herringbone pattern or a honeycomb effect, hexagons are a great way to add interest to your shower walls. So, if you’re looking to upgrade your shower space, consider incorporating some of these tile shower trends into your design.

If you’re looking to do it yourself! We (TheTileI.S.) wish you luck on your endeavour, otherwise you can check in with us to get you some pricing. From large format tiles to mixed materials and hexagons, there is a lot of potential to create a stunning and unique shower space.

Here are some of the tile suppliers we work closely with:

10 Creative Ways to Use Tiles in Your Kitchen Backsplash that You Will Absolutely Love

When it comes to designing your kitchen, you want to make sure that every element is as stylish and as functional as possible. One of the best ways to achieve this is by incorporating tiles into your kitchen backsplash. Not only can tiles add a colorful and eye-catching element to your kitchen, but they can also be used in a variety of creative ways.

Here are 10 creative ways to use tiles in your kitchen backsplash.

1. Create a Subway Tile Design

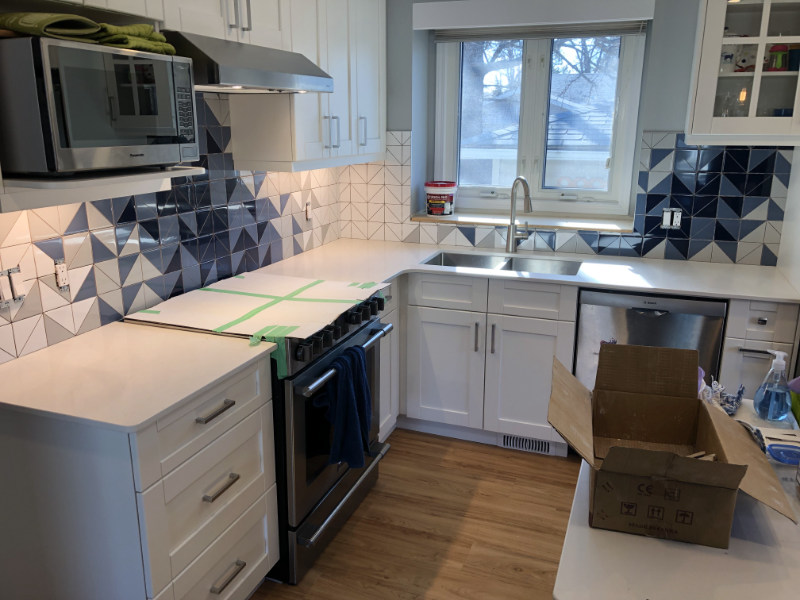
Subway tiles are a classic choice for backsplashes, and they can be used to create a variety of interesting designs. For example, you can use subway tiles in a staggered pattern, or you can create a herringbone or chevron pattern.

2. Use Colorful Accents

If you’re looking for a way to add a bit of color to your kitchen, try incorporating colorful accent tiles into your backsplash. You can mix and match different colors and patterns to create a unique and eye-catching look.

kitchen backsplash with accent

3. Create a Mosaic

For an even more unique look, you can create a custom mosaic using a variety of tiles in different shapes and sizes. This is a great way to create a truly one-of-a-kind backsplash.

4. Use Textured Tiles

If you’re looking for a backsplash that has a bit of texture and depth, try using textured tiles. You can find tiles with a variety of different textures, from glossy to matte to rough.

5. Try a Chevron Pattern

Chevron patterns are a great way to add a bold and stylish accent to your kitchen. You can mix and match different colors of tiles to create a chevron pattern that will really stand out.

6. Add a Geometric Pattern

Geometric patterns are becoming increasingly popular in kitchen design, and tiles are a great way to incorporate this trend into your kitchen. You can use different shaped tiles, such as hexagons and octagons, to create a unique and eye-catching pattern.

7. Incorporate Metallics

Metallics can add a touch of luxury to your kitchen, and they can be used with tiles to create a truly stylish backsplash. Try using gold or silver tiles to create a shimmering and glamorous look.

8. Create a Mosaic with Natural Materials

For a truly unique look, try creating a mosaic with natural materials. You can use pebbles, stones, and even shells to create a stunning and eye-catching backsplash.

9. Use a Monochromatic Color Scheme

If you want to create a simple yet stylish look, try using a monochromatic color scheme. You can use tiles in different shades of the same color, such as blues or greens, to create a subtle yet interesting effect.

10. Create a Backsplash with a Picture

If you’re looking for an even more creative way to incorporate tiles into your kitchen, why not create a backsplash with a picture? You can use different tiles to create a colorful image that will really stand out.

These are just a few of the creative ways you can use tiles to create a stylish and functional kitchen backsplash. Whether you want to create a classic subway tile design or a more creative mosaic, tiles are a great way to add a bit of style and personality to your kitchen.

For more ideas and visualization please do check some of our suppliers that we work with:

Full Reno Conversion in Carter Crest

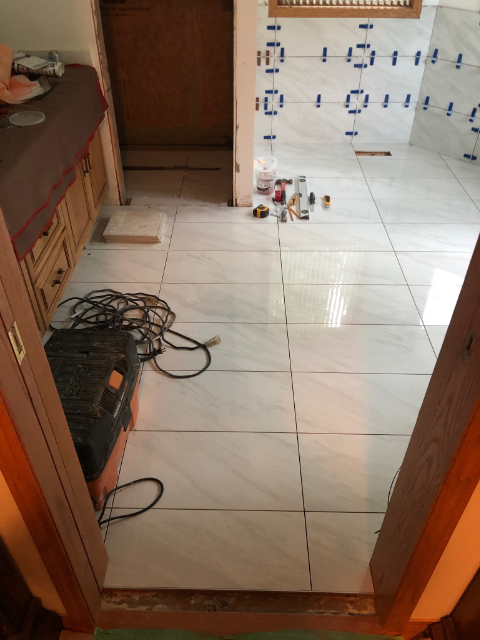
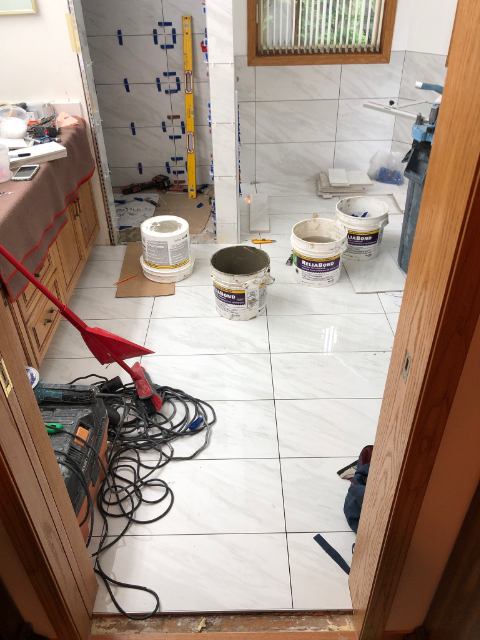
This job was a beautiful full Reno Conversion into a self standing tub. Below are the pictures prior to our arrival. Client chose to do some of the demolition work himself and had us finish up and prep everything for us to proceed. This bathroom went from a whirlpool jacuzzi tub on a deck/skirt to a free standing tub. The shower had a fibreglass base with tiled walls an the floors were linoleum material.

Full Reno Conversion Pictures Before:

Our plumber moved the lines from the previous position of the jacuzzi to the new self standing tub location. He also installed the new Moen rough in for the shower. Our HVAC moved the heat run from where it was located to the new position. Lastly our electrician used the previously used wire run for the jacuzzi whirlpool to power the heated floors. We removed all the linoleum, prepared the substrate, screwed down all surfaces. The first thing to do after this is to build down the shower floor for a barrier-less shower. Please take a look at the pictures below to appreciate the work in order to get that done.

We drywalled the walls. Installed kerdi waterproofing membrane. We then installed ditra heat membrane on the floor area. Installed the coil, tested it, and did a scratch coat on top.

From the shower floor area to the bathroom floor area we did an overlap of the Kerdi waterproofing to protect the heated floor system from any wet areas.

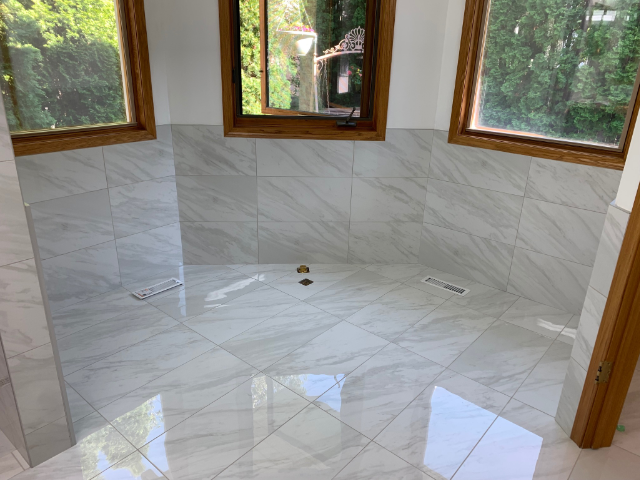
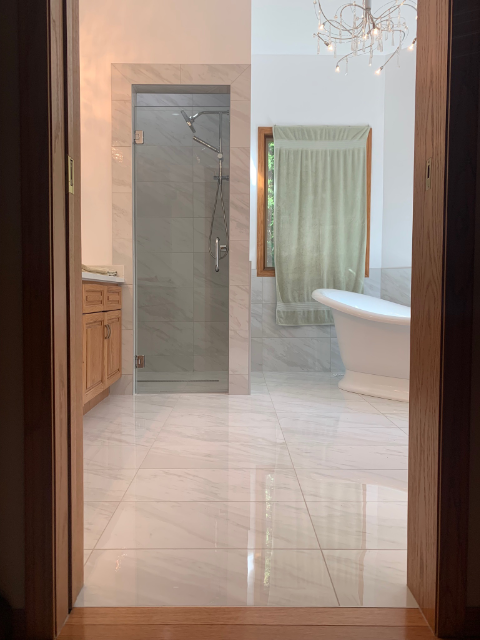
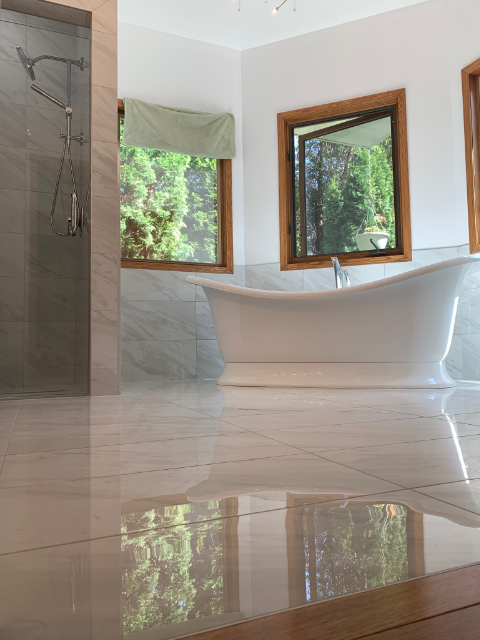
We laid tile on all walls around the Self Standing Tub only. There are times where we get asked to do wall tile on the whole bathroom like this. Plumbing finishing stage and electrical and we have ourselves a new bathroom for Ken and family.

Here or some picture of the Full Reno Conversion Completed:

Full Reno Conversion Complete 1
Full Reno Conversion Complete 2
Full Reno Conversion Complete 3
Full Reno Conversion Complete 4
Full Reno Conversion Complete 5
Full Reno Conversion Complete 6

A lot of the items purchased for this project were from www.WayFair.com