In this project the client was doing a Basement Bathroom. Growing families need an extra bathroom in the basement 100%. Our client had a lot of the knowledge needed for the entire project but he was very busy with his Brewery. We actually had the honour of getting a few of their beers to taste at home with our loved ones.
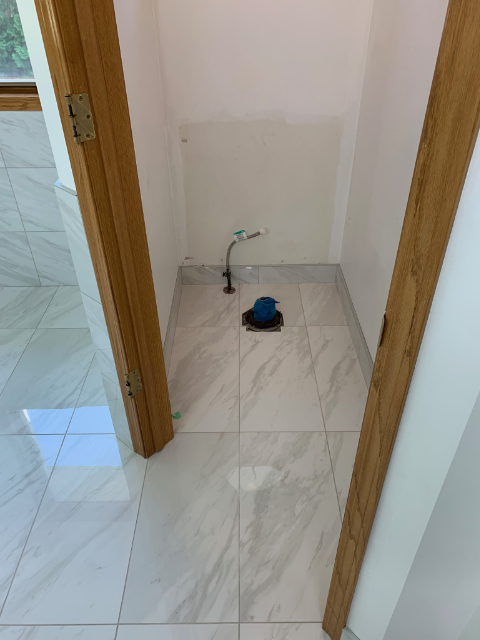
When we came in the plumbing and concrete were already done. We did small amount of levelling with CustomTech TechLevel 150. That takes about 4 hours to cure so we had left this for the end of day and went home.
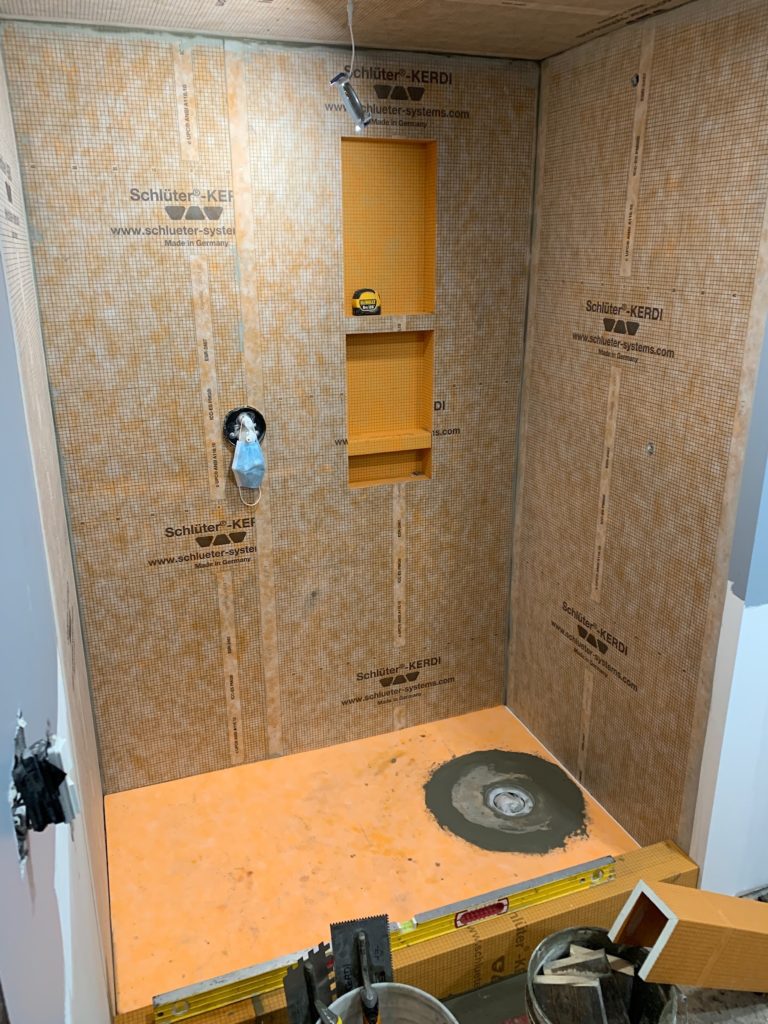
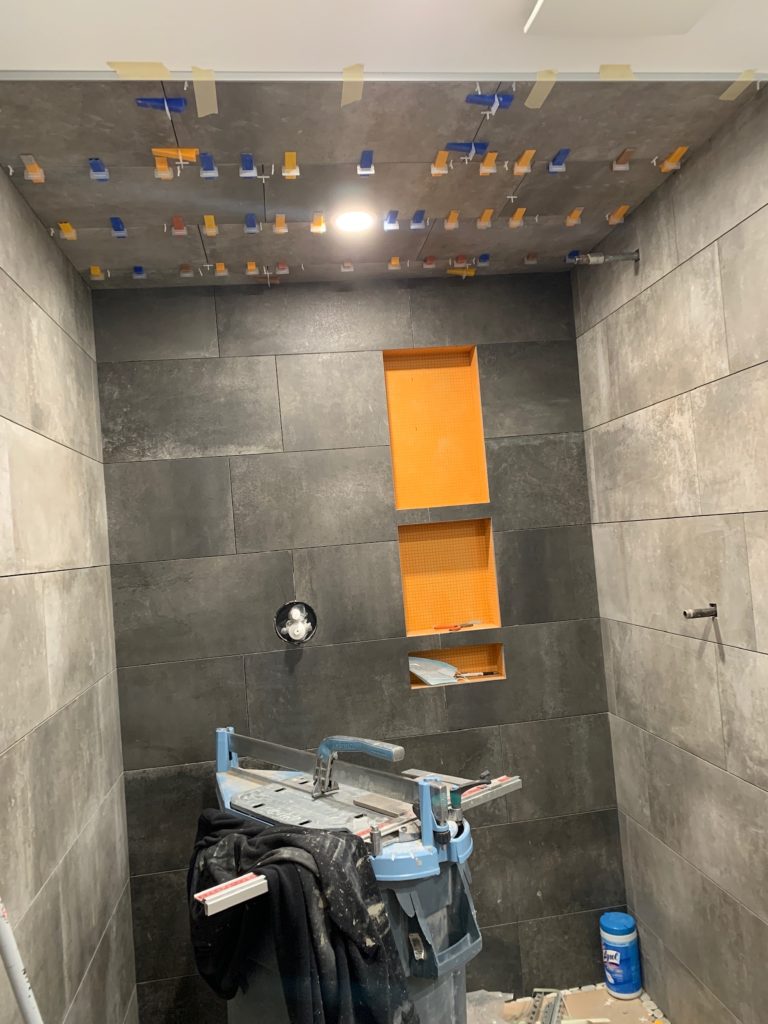
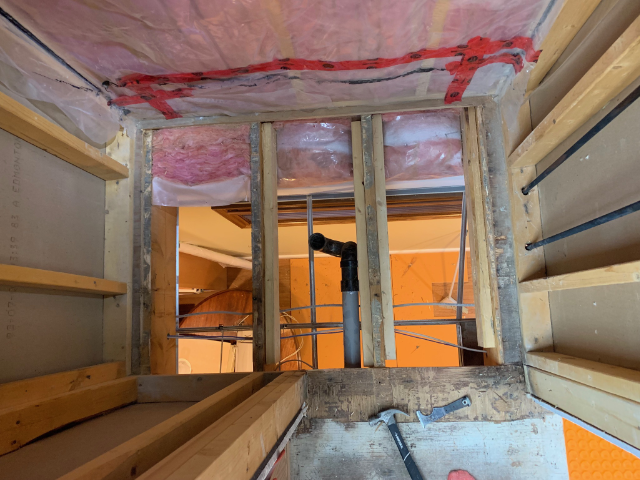
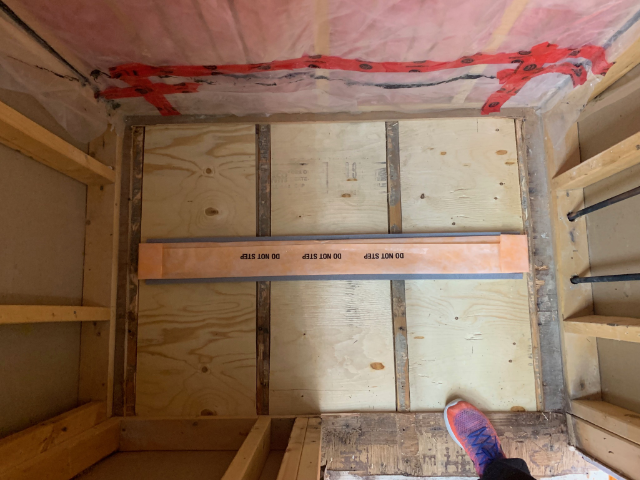
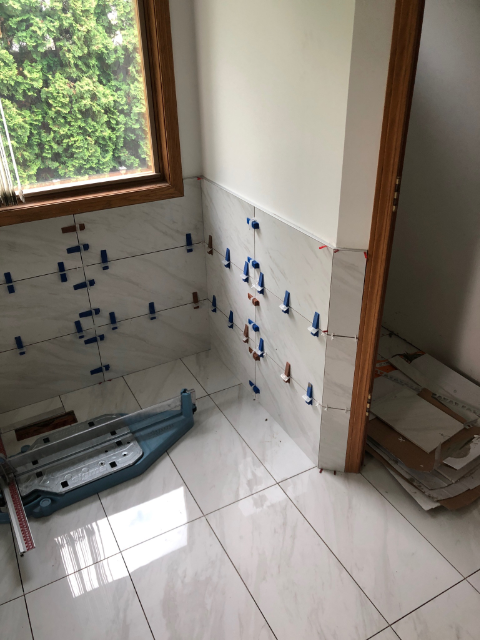
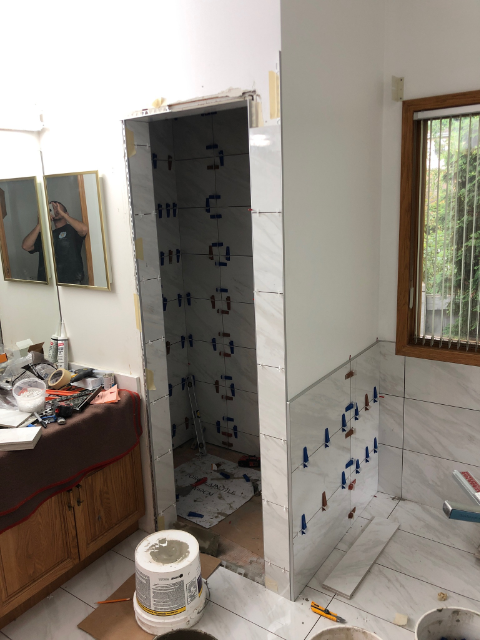
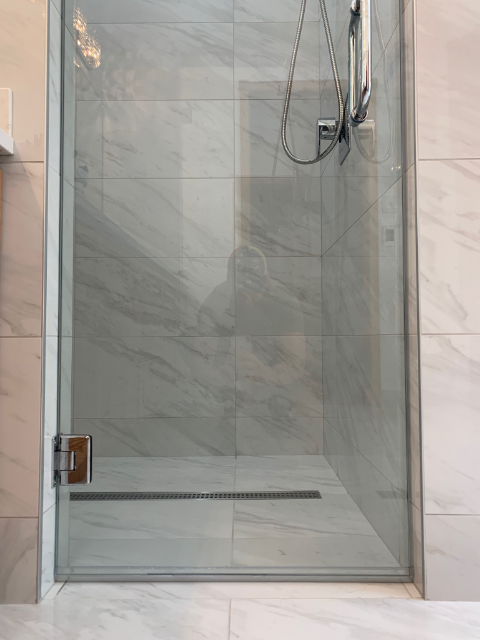
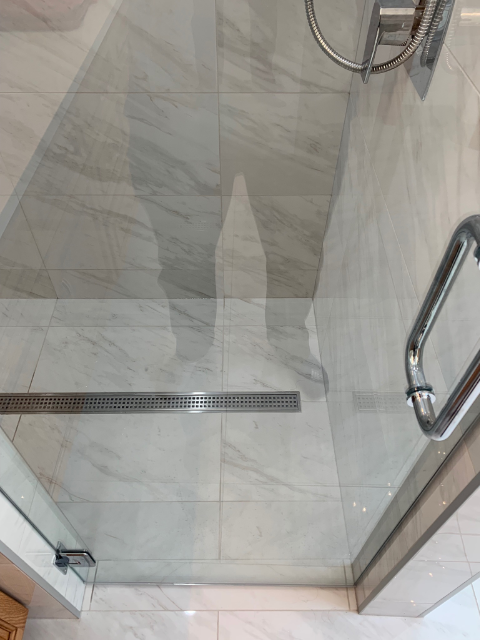
Following day we got down to business. Opened up the back wall where the niche is going to be located and place all the support necessary, etc. Installed a 38×60 Schluter Shower Kit and tied it all together with the niche and ready to tile.
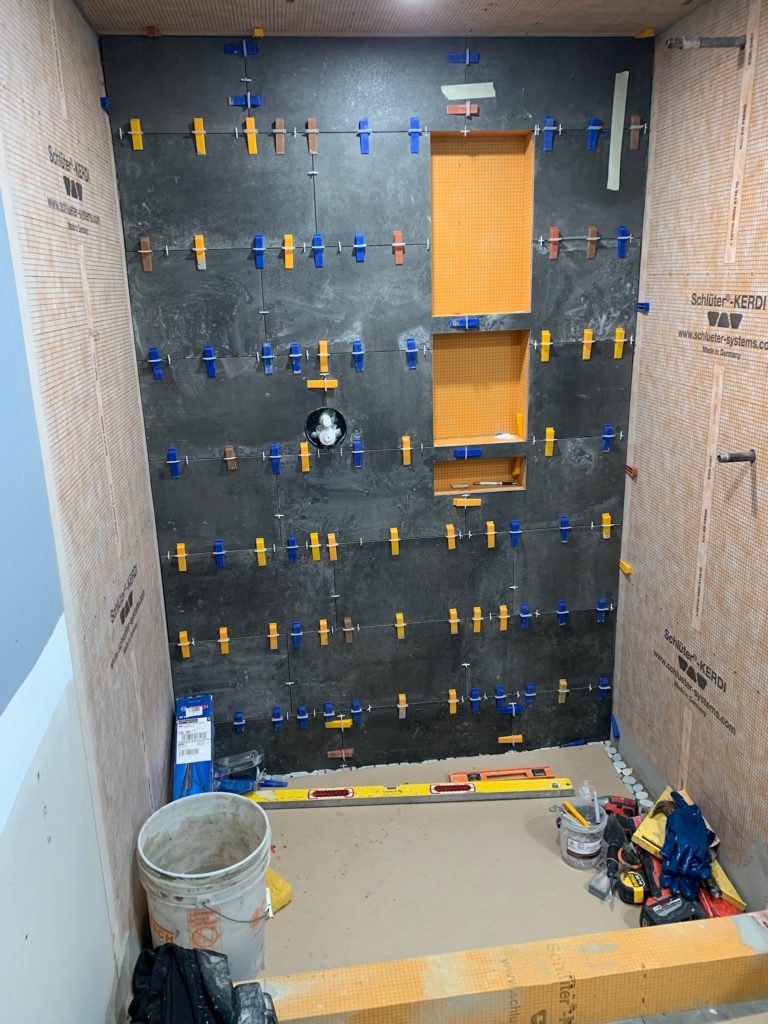
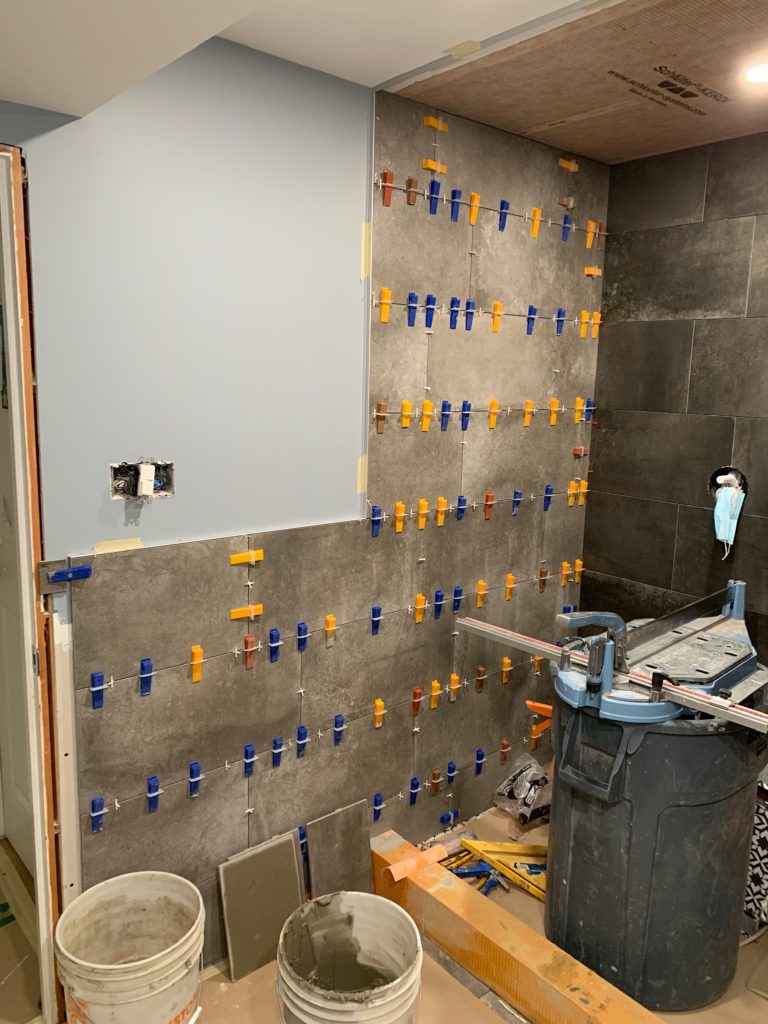
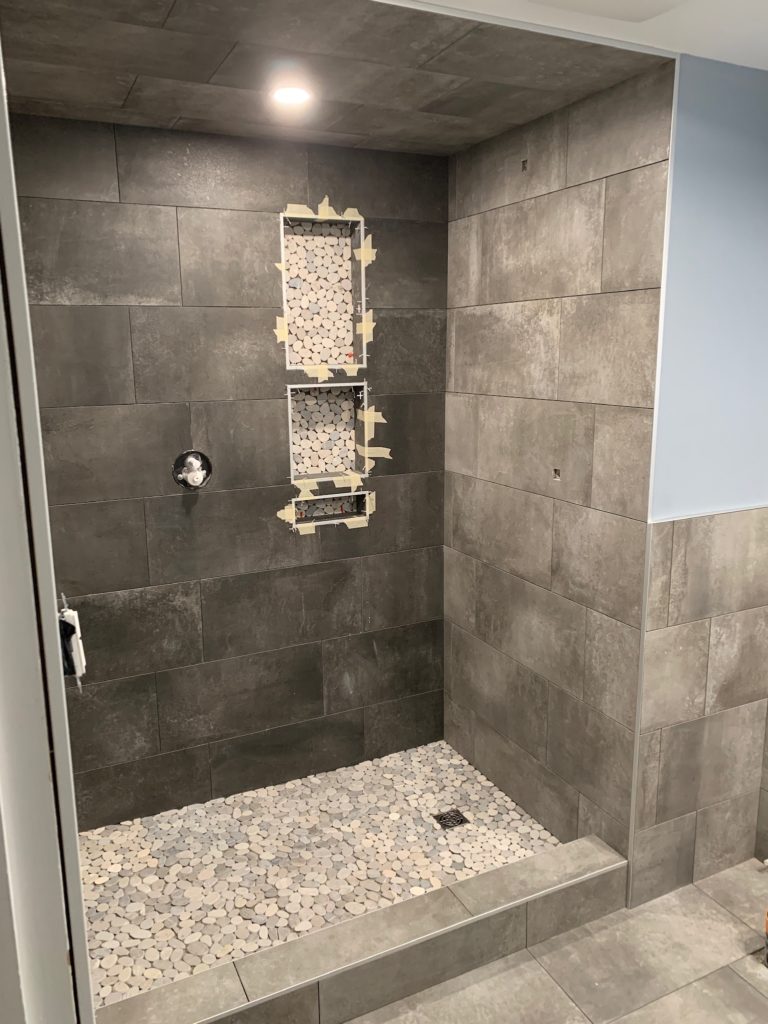
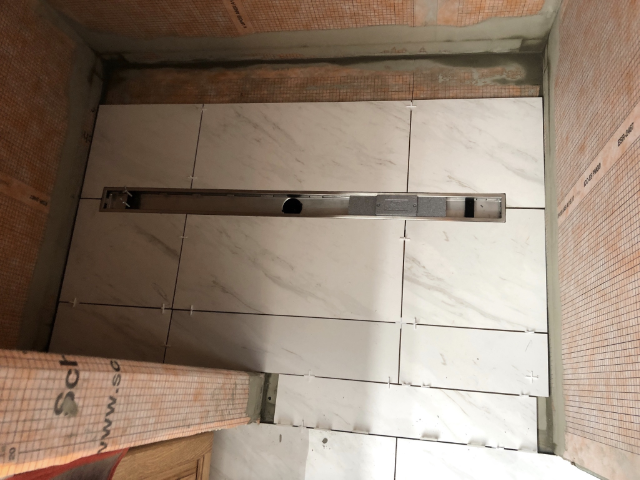
They had us do the shower base and back of the niche with a mosaic tile. The rest of the shower and bathroom area with 12×24 but with 2 different shades of the same series of tile. All the tile was great to work with and it was supplied by our good friends from TierraSol.
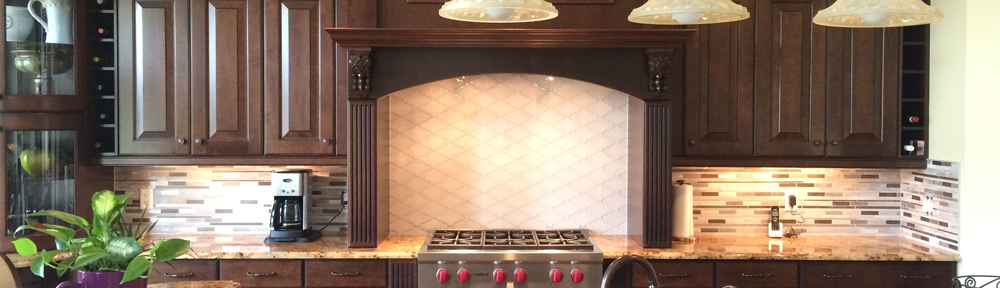
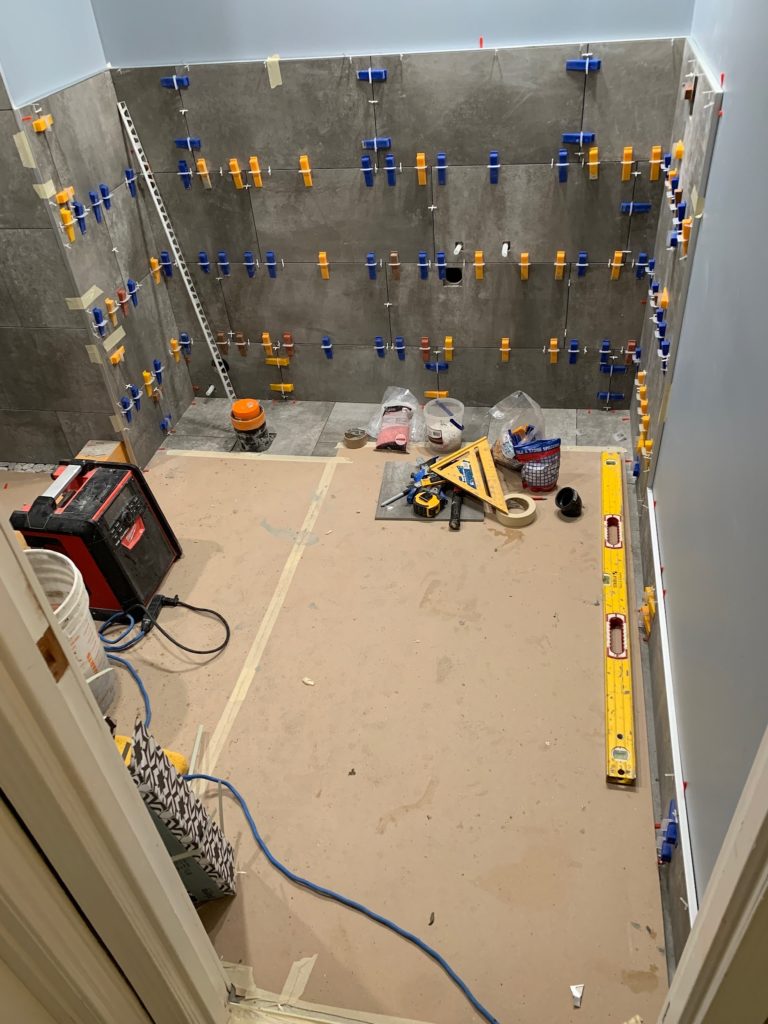
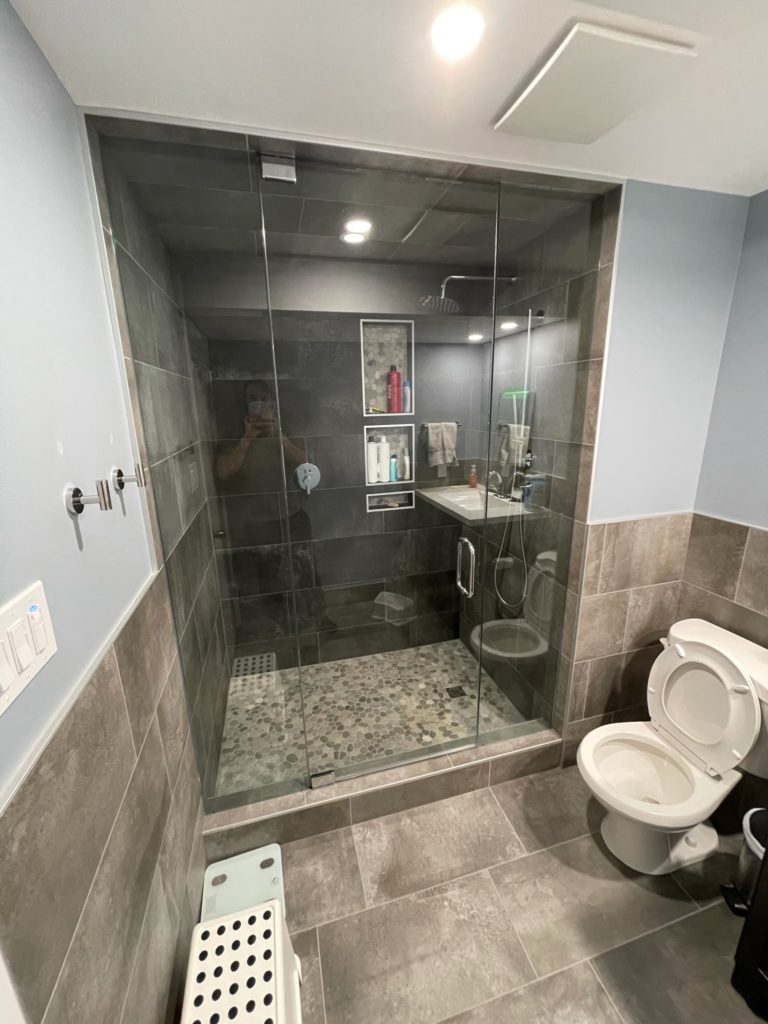
The bathroom floor area got tile on all walls up about 43″ high. All grouted with our number one pick grout Custom Prism. Final stage was the custom glass which took the bathroom from a 10/10 to a 15/10 😉 Here are other examples of what floor tile could be used for bathrooms like this
Before and after Pictures of Basement Bathroom:
Basement Bathroom Complete
Thanks you to the Oswald Family for this wonderful opportunity and for more Shower Installations check out this other cool project
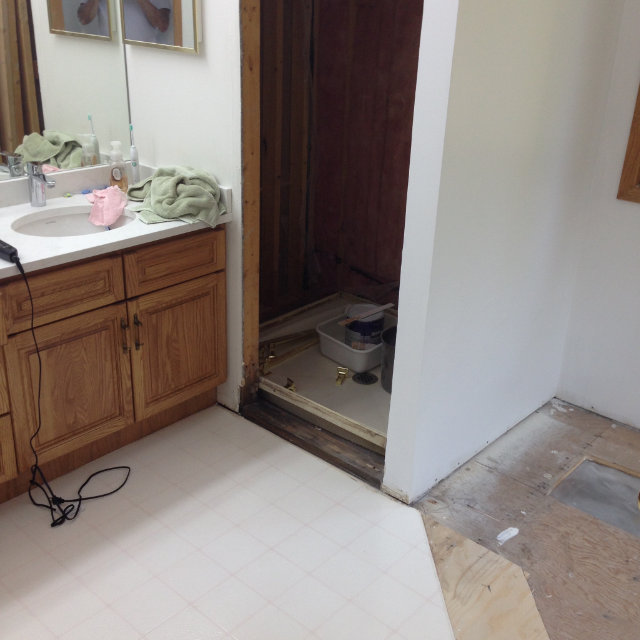
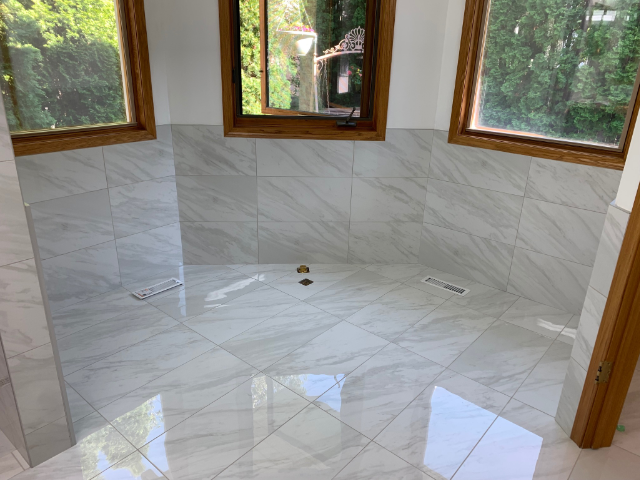
This job was a beautiful full Reno Conversion into a self standing tub. Below are the pictures prior to our arrival. Client chose to do some of the demolition work himself and had us finish up and prep everything for us to proceed. This bathroom went from a whirlpool jacuzzi tub on a deck/skirt to a free standing tub. The shower had a fibreglass base with tiled walls an the floors were linoleum material.
Full Reno Conversion Pictures Before:
Before Pictures
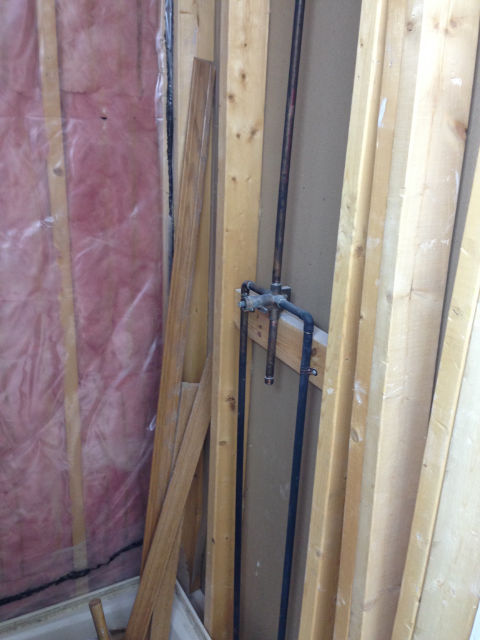
Our plumber moved the lines from the previous position of the jacuzzi to the new self standing tub location. He also installed the new Moen rough in for the shower. Our HVAC moved the heat run from where it was located to the new position. Lastly our electrician used the previously used wire run for the jacuzzi whirlpool to power the heated floors. We removed all the linoleum, prepared the substrate, screwed down all surfaces. The first thing to do after this is to build down the shower floor for a barrier-less shower. Please take a look at the pictures below to appreciate the work in order to get that done.
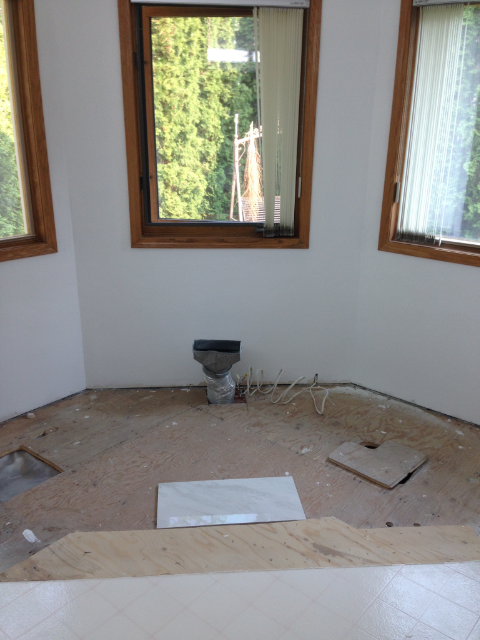
In the works
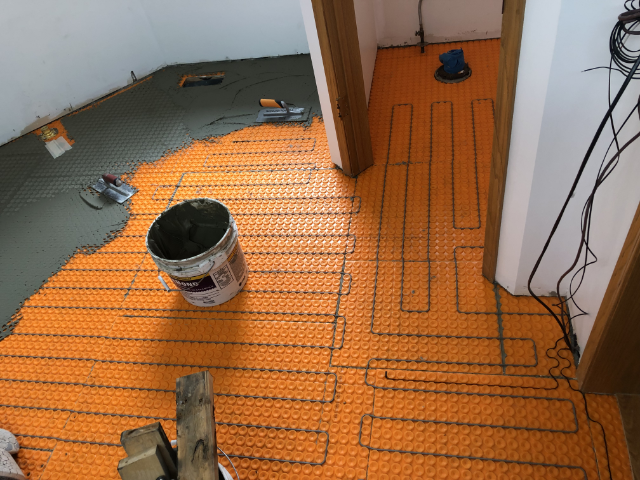
We drywalled the walls. Installed kerdi waterproofing membrane. We then installed ditra heat membrane on the floor area. Installed the coil, tested it, and did a scratch coat on top.
From the shower floor area to the bathroom floor area we did an overlap of the Kerdi waterproofing to protect the heated floor system from any wet areas.
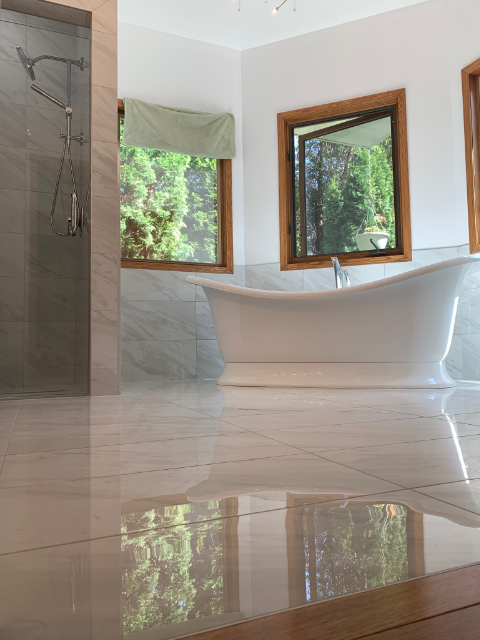
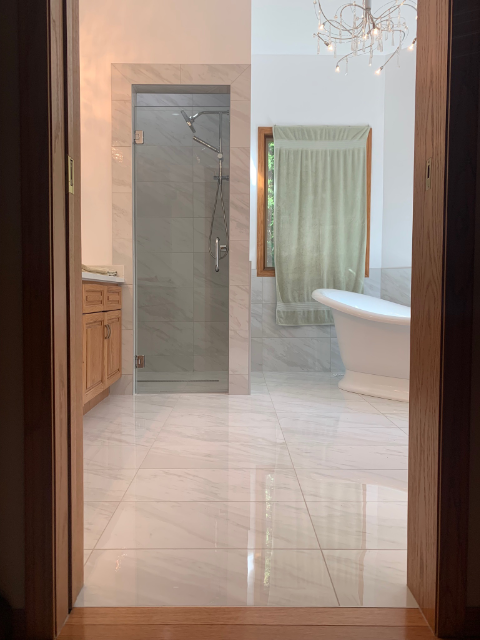
We laid tile on all walls around the Self Standing Tub only. There are times where we get asked to do wall tile on the whole bathroom like this. Plumbing finishing stage and electrical and we have ourselves a new bathroom for Ken and family.
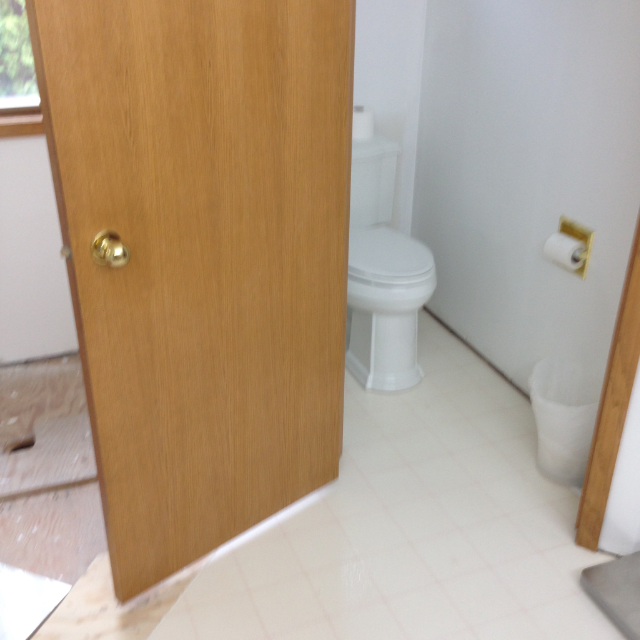
Here or some picture of the Full Reno Conversion Completed:
A lot of the items purchased for this project were from www.WayFair.com