What Are the Latest Trends in 2023 Tile Shower Design?

Tile showers are making a big comeback in the bathroom design world. From classic subway tiles to modern hexagons, there is a plethora of tile options for shower design. But what are the latest trends in tile shower design?

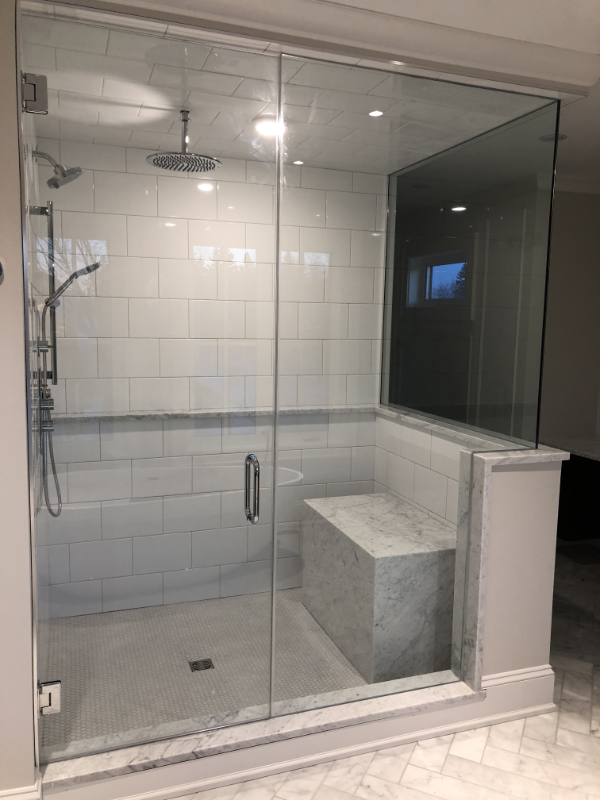
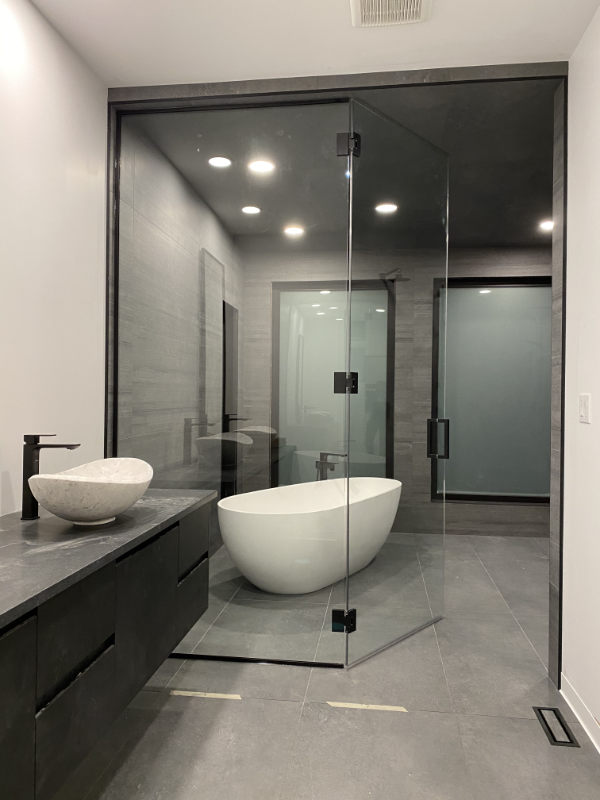
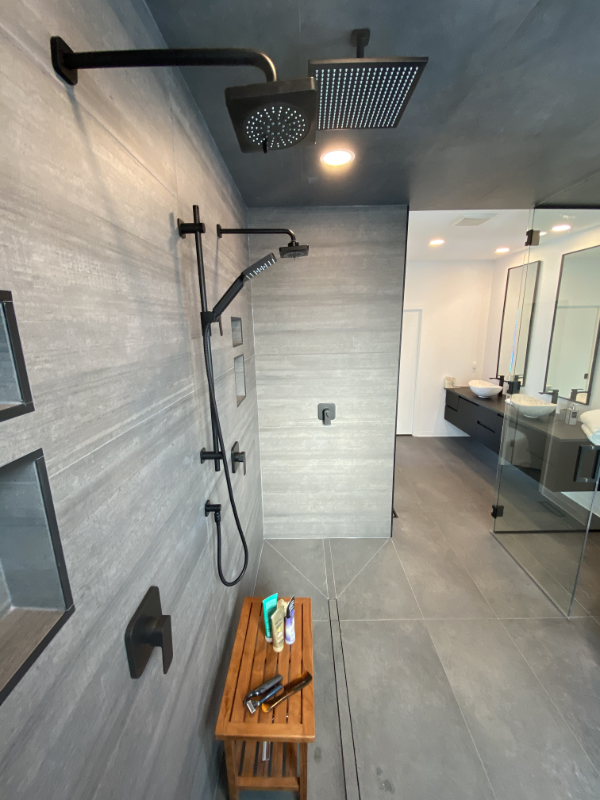
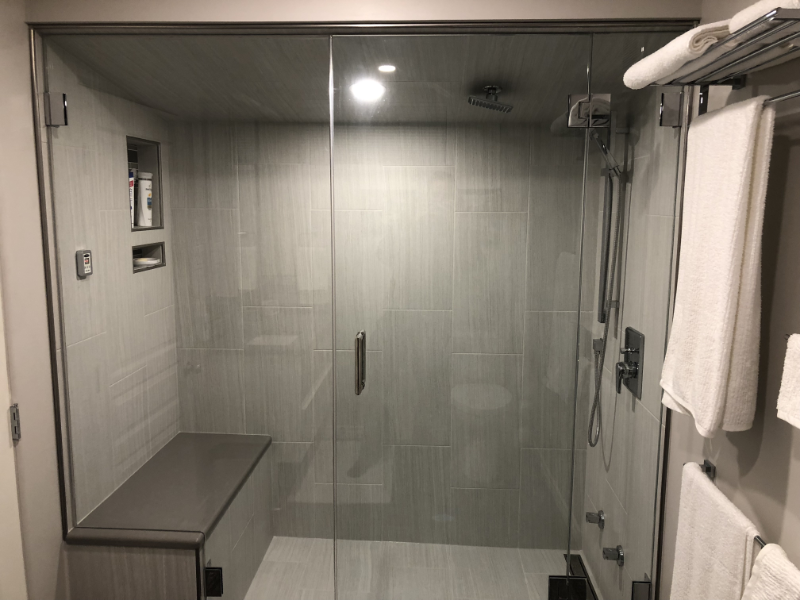
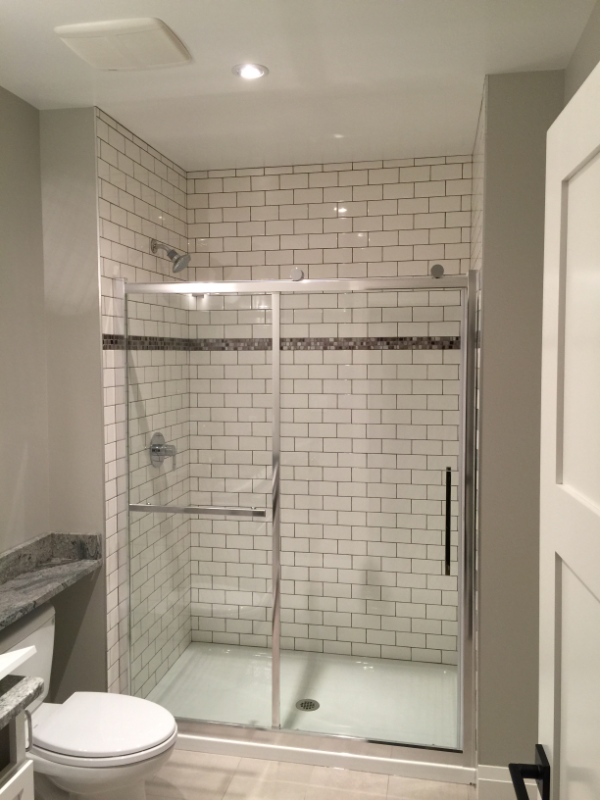
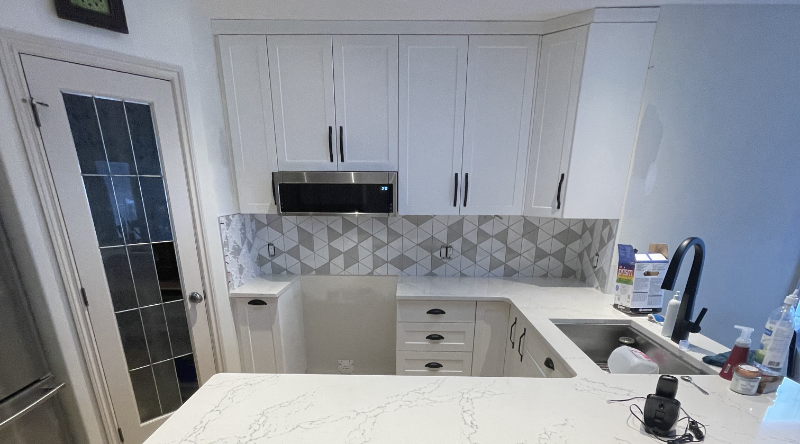
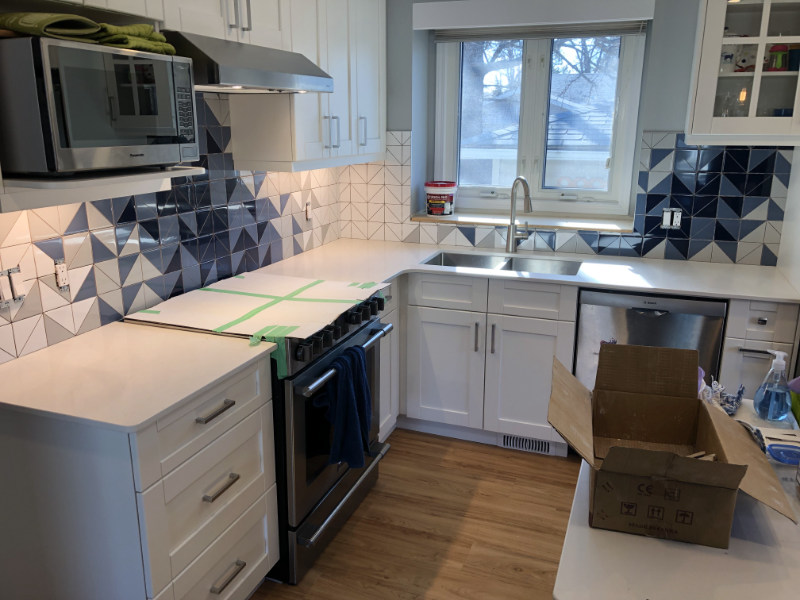
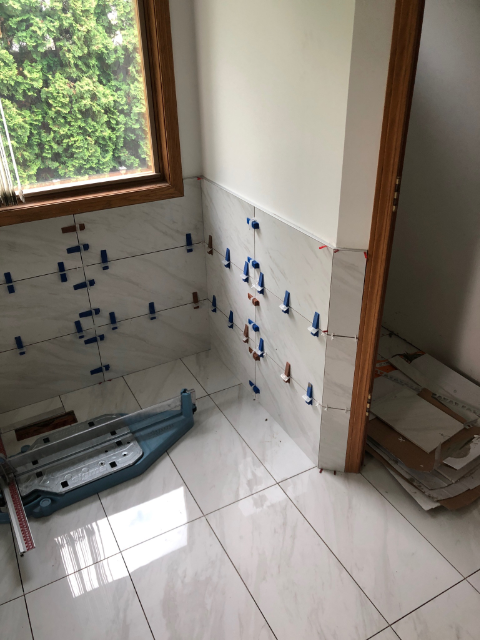
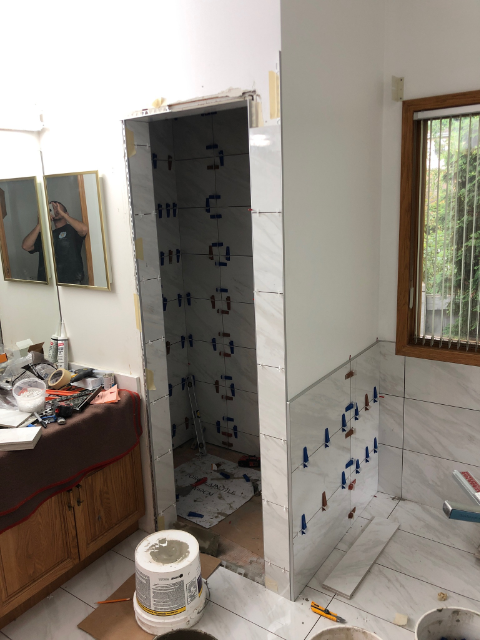
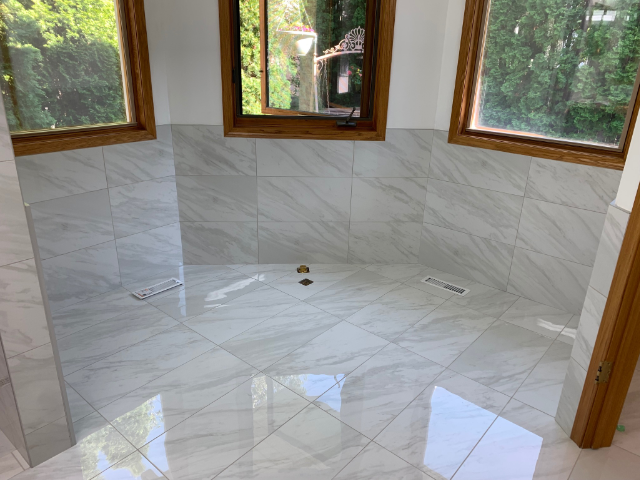
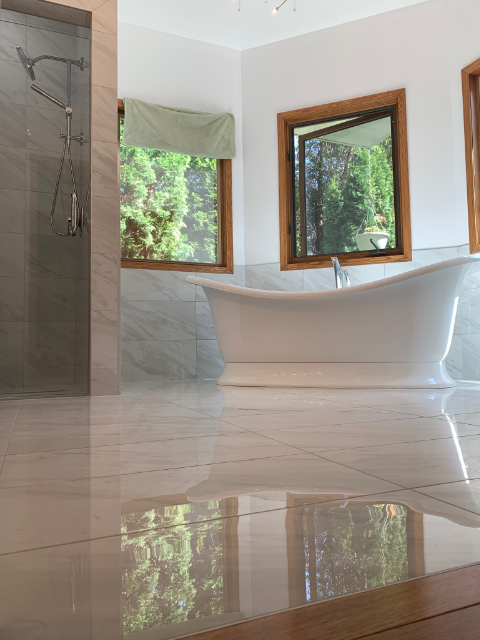
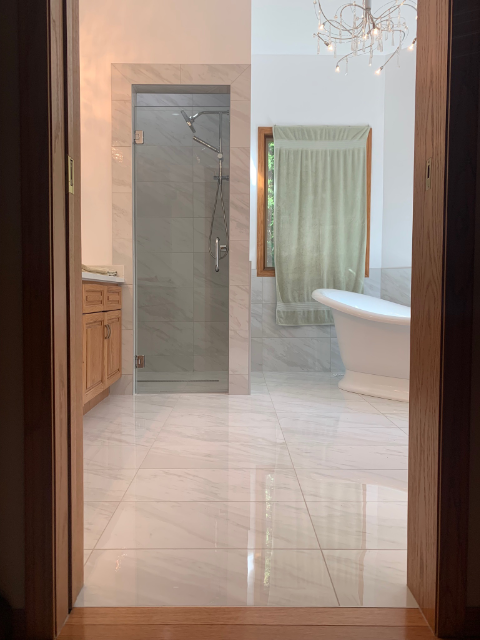
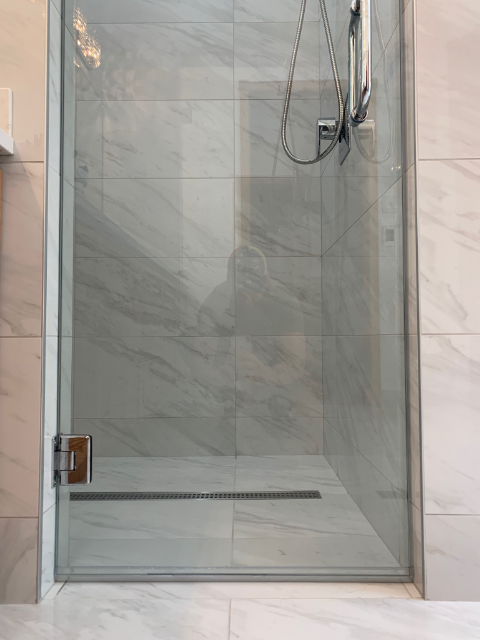
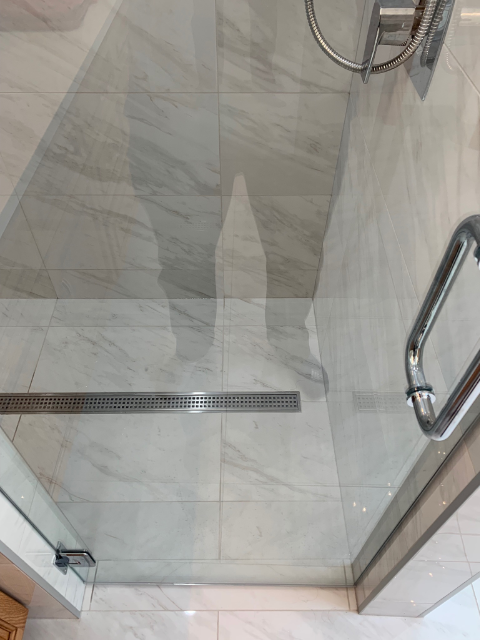
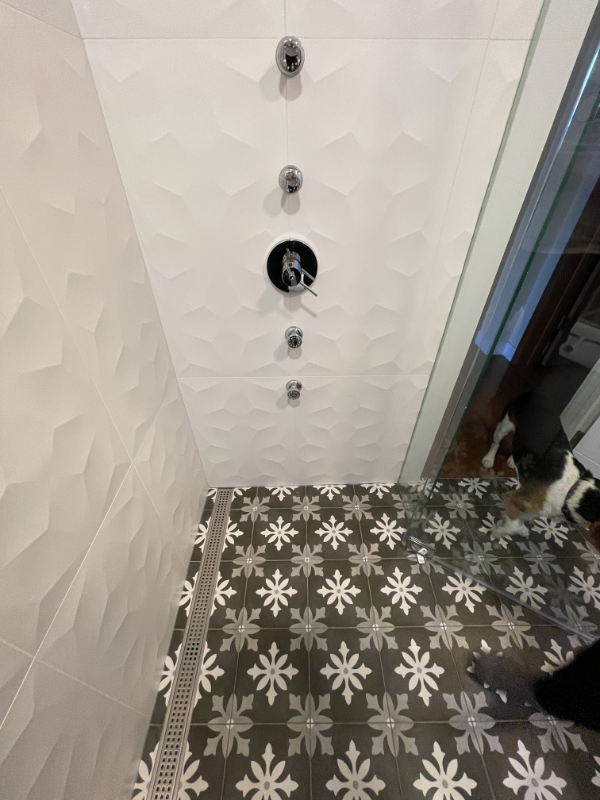
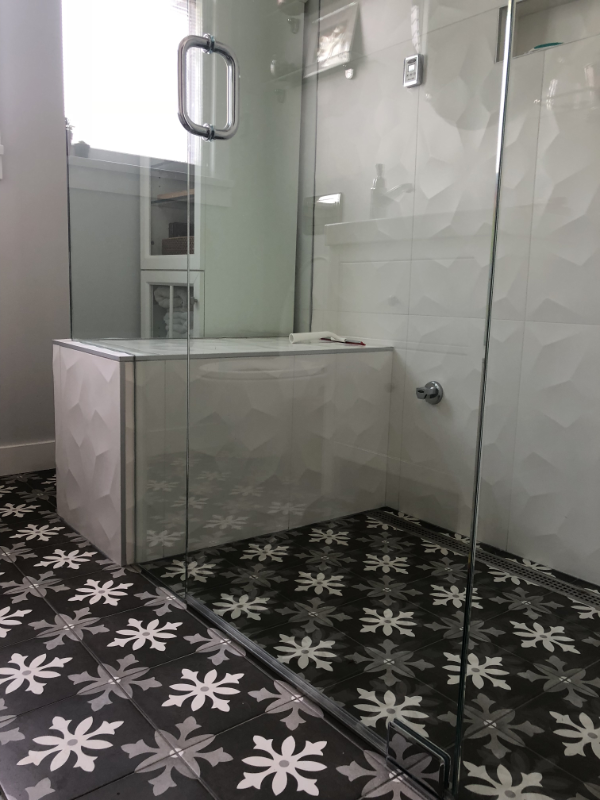
When it comes to tile shower design, there are a few trends that are gaining traction. First, the use of large format tiles is becoming increasingly popular. These larger tiles create a sleek, modern look that is perfect for a luxurious shower space. Go ahead and check out more of our projects to see other shower designs Additionally, geometric patterns and shapes are being used to add visual interest to shower walls. Whether it’s mosaics, hexagons, or chevrons, these shapes can make the shower feel more unique and dynamic.

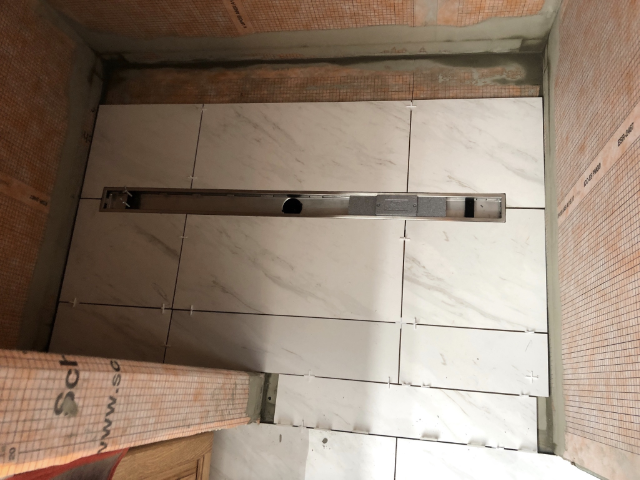
The use of Large Format Tiles is becoming increasingly popular

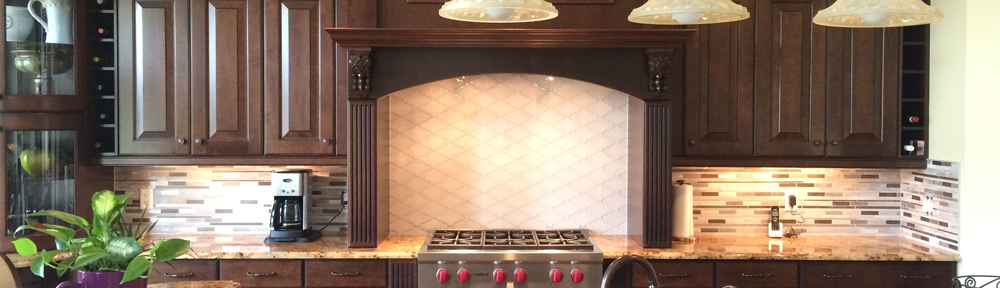
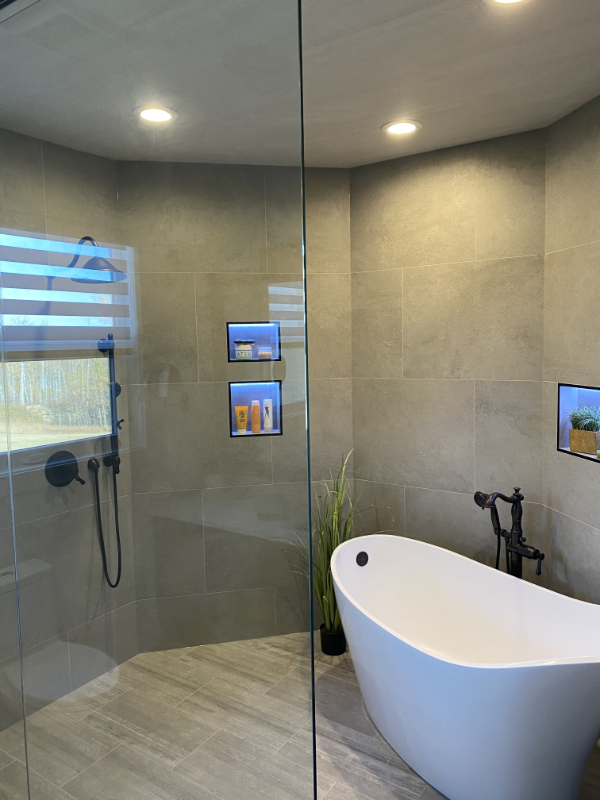
Another trend that is gaining popularity is the use of mixed materials. Combining materials such as stone, marble, and wood can create a stunning, high-end look. For a more subtle touch, consider using tiles with a glossy finish, as this can add a touch of glamour to your shower.

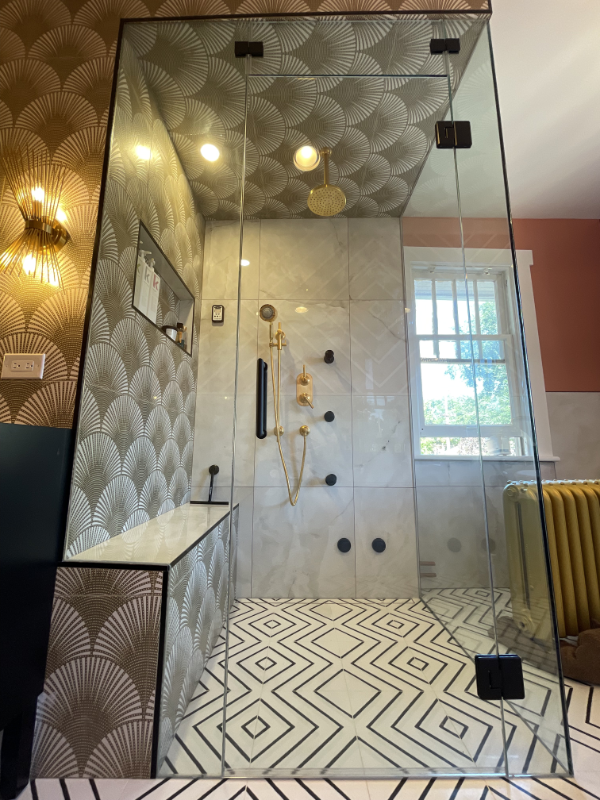
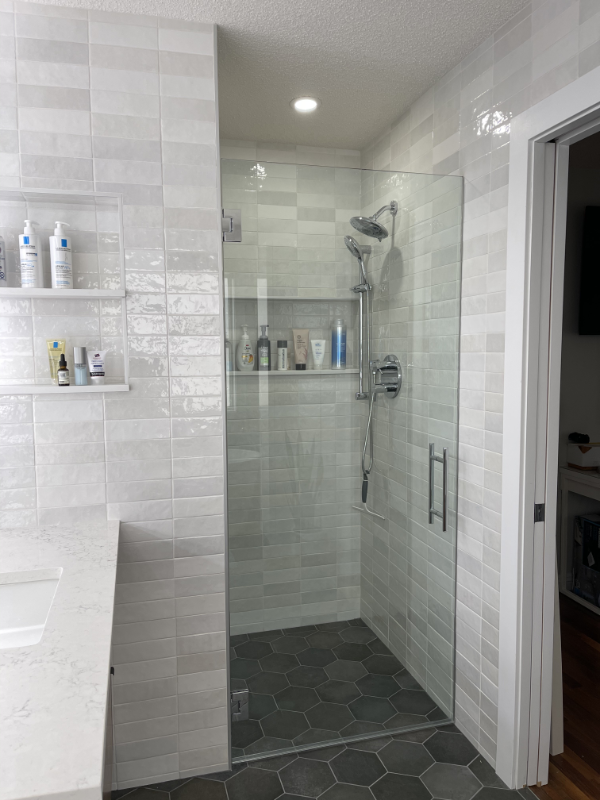
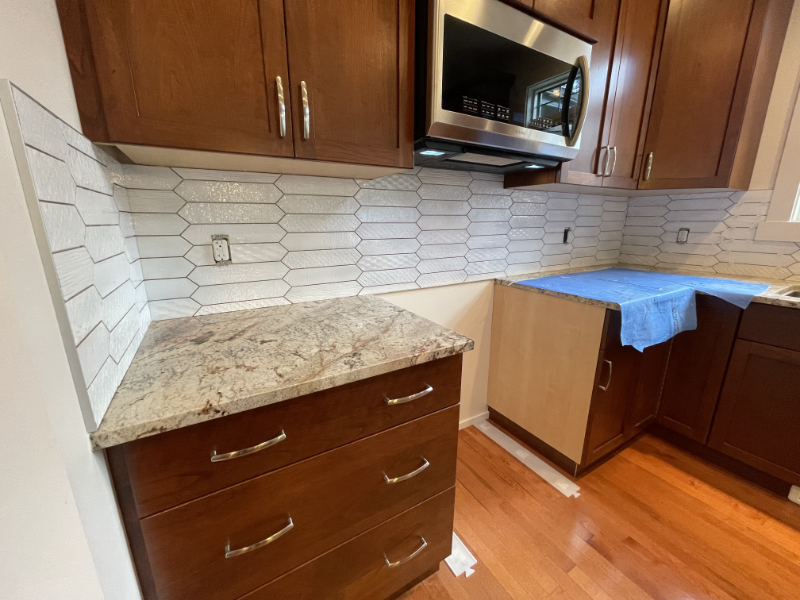
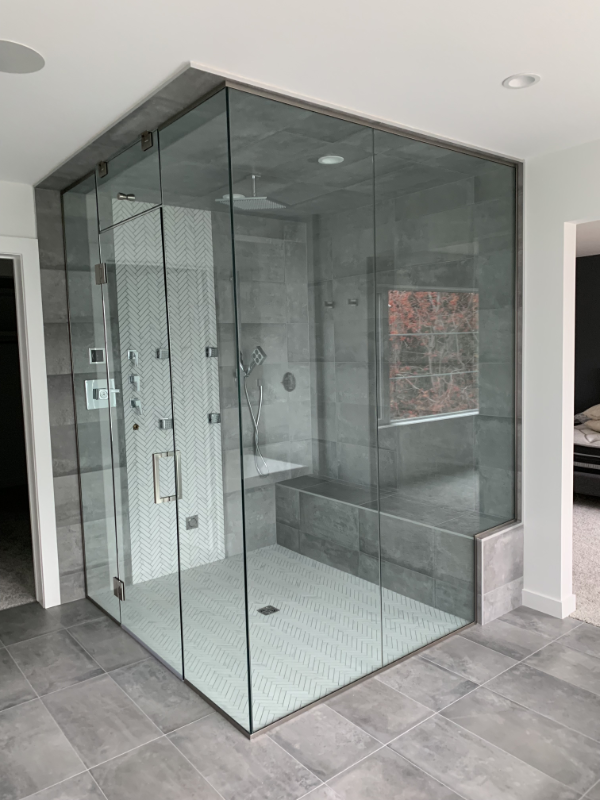
Hexagonal tiles are becoming a popular choice for shower design

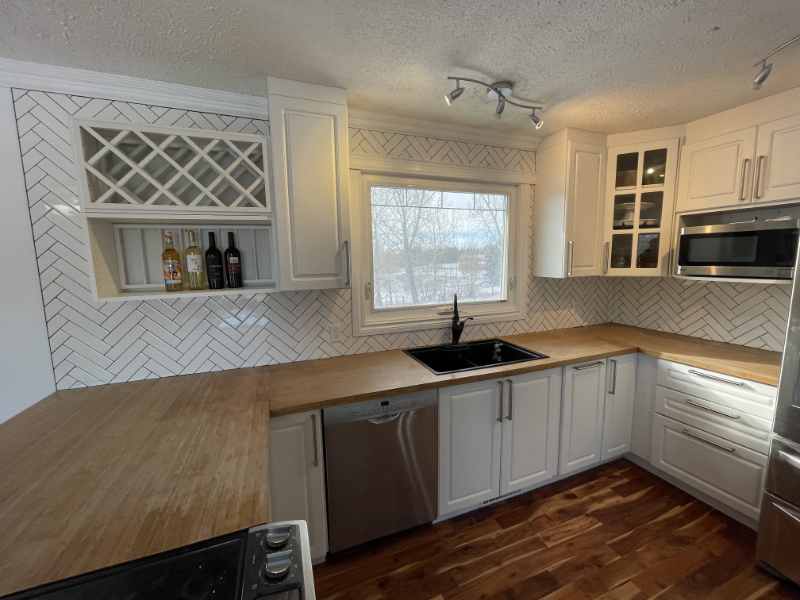
Finally, hexagonal tiles are becoming a popular choice for shower design. This hexagonal shape is a versatile option that can be used in a variety of ways. Whether it’s used to create a herringbone pattern or a honeycomb effect, hexagons are a great way to add interest to your shower walls. So, if you’re looking to upgrade your shower space, consider incorporating some of these tile shower trends into your design.

If you’re looking to do it yourself! We (TheTileI.S.) wish you luck on your endeavour, otherwise you can check in with us to get you some pricing. From large format tiles to mixed materials and hexagons, there is a lot of potential to create a stunning and unique shower space.

Here are some of the tile suppliers we work closely with:

10 Creative Ways to Use Tiles in Your Kitchen Backsplash that You Will Absolutely Love

When it comes to designing your kitchen, you want to make sure that every element is as stylish and as functional as possible. One of the best ways to achieve this is by incorporating tiles into your kitchen backsplash. Not only can tiles add a colorful and eye-catching element to your kitchen, but they can also be used in a variety of creative ways.

Here are 10 creative ways to use tiles in your kitchen backsplash.

1. Create a Subway Tile Design

Subway tiles are a classic choice for backsplashes, and they can be used to create a variety of interesting designs. For example, you can use subway tiles in a staggered pattern, or you can create a herringbone or chevron pattern.

2. Use Colorful Accents

If you’re looking for a way to add a bit of color to your kitchen, try incorporating colorful accent tiles into your backsplash. You can mix and match different colors and patterns to create a unique and eye-catching look.

kitchen backsplash with accent

3. Create a Mosaic

For an even more unique look, you can create a custom mosaic using a variety of tiles in different shapes and sizes. This is a great way to create a truly one-of-a-kind backsplash.

4. Use Textured Tiles

If you’re looking for a backsplash that has a bit of texture and depth, try using textured tiles. You can find tiles with a variety of different textures, from glossy to matte to rough.

5. Try a Chevron Pattern

Chevron patterns are a great way to add a bold and stylish accent to your kitchen. You can mix and match different colors of tiles to create a chevron pattern that will really stand out.

6. Add a Geometric Pattern

Geometric patterns are becoming increasingly popular in kitchen design, and tiles are a great way to incorporate this trend into your kitchen. You can use different shaped tiles, such as hexagons and octagons, to create a unique and eye-catching pattern.

7. Incorporate Metallics

Metallics can add a touch of luxury to your kitchen, and they can be used with tiles to create a truly stylish backsplash. Try using gold or silver tiles to create a shimmering and glamorous look.

8. Create a Mosaic with Natural Materials

For a truly unique look, try creating a mosaic with natural materials. You can use pebbles, stones, and even shells to create a stunning and eye-catching backsplash.

9. Use a Monochromatic Color Scheme

If you want to create a simple yet stylish look, try using a monochromatic color scheme. You can use tiles in different shades of the same color, such as blues or greens, to create a subtle yet interesting effect.

10. Create a Backsplash with a Picture

If you’re looking for an even more creative way to incorporate tiles into your kitchen, why not create a backsplash with a picture? You can use different tiles to create a colorful image that will really stand out.

These are just a few of the creative ways you can use tiles to create a stylish and functional kitchen backsplash. Whether you want to create a classic subway tile design or a more creative mosaic, tiles are a great way to add a bit of style and personality to your kitchen.

For more ideas and visualization please do check some of our suppliers that we work with:

Full Reno Conversion in Carter Crest

This job was a beautiful full Reno Conversion into a self standing tub. Below are the pictures prior to our arrival. Client chose to do some of the demolition work himself and had us finish up and prep everything for us to proceed. This bathroom went from a whirlpool jacuzzi tub on a deck/skirt to a free standing tub. The shower had a fibreglass base with tiled walls an the floors were linoleum material.

Full Reno Conversion Pictures Before:

Our plumber moved the lines from the previous position of the jacuzzi to the new self standing tub location. He also installed the new Moen rough in for the shower. Our HVAC moved the heat run from where it was located to the new position. Lastly our electrician used the previously used wire run for the jacuzzi whirlpool to power the heated floors. We removed all the linoleum, prepared the substrate, screwed down all surfaces. The first thing to do after this is to build down the shower floor for a barrier-less shower. Please take a look at the pictures below to appreciate the work in order to get that done.

We drywalled the walls. Installed kerdi waterproofing membrane. We then installed ditra heat membrane on the floor area. Installed the coil, tested it, and did a scratch coat on top.

From the shower floor area to the bathroom floor area we did an overlap of the Kerdi waterproofing to protect the heated floor system from any wet areas.

We laid tile on all walls around the Self Standing Tub only. There are times where we get asked to do wall tile on the whole bathroom like this. Plumbing finishing stage and electrical and we have ourselves a new bathroom for Ken and family.

Here or some picture of the Full Reno Conversion Completed:

Full Reno Conversion Complete 1
Full Reno Conversion Complete 2
Full Reno Conversion Complete 3
Full Reno Conversion Complete 4
Full Reno Conversion Complete 5
Full Reno Conversion Complete 6

A lot of the items purchased for this project were from www.WayFair.com