Dog lovers in Edmonton know that life with a furry friend can be incredibly rewarding, but it also comes with its challenges—one of the biggest being keeping your pet clean. With Edmonton’s unpredictable weather, from muddy spring thaws to icy winter walks, it’s no wonder more homeowners are turning to dedicated dog showers as a solution to keep both their pets and homes cleaner. Not only do dog showers provide convenience, but they also help preserve the cleanliness of your living space. If you’re considering this feature for your home, hiring a specialist tile installation company in Edmonton to design and install a dog shower is essential to get the best results.
Table of Content
- What Is a Dog Shower?
- Why Are Dog Showers Becoming Popular in Edmonton?
- Benefits of Installing a Dog Shower in Your Edmonton Home
- 1. Convenience and Comfort
- 2. Keeps Your Home Cleaner
- 3. Customizable Design
- 4. Reduces Stress for Your Dog
- 5. Increases Home Value
- 6. Saves Time and Money
- What to Look for in a Tile Installation Company in Edmonton
- 1. Expertise in Custom Installations
- 2. Knowledge of Local Regulations
- 3. Portfolio and Reviews
- Conclusion
In this article, we’ll explore the benefits of having a dedicated dog shower, what to look for in a professional installer, and why investing in this unique home feature is ideal for dog owners in Edmonton.
What Is a Dog Shower?

A dog shower is a specially designed wash station, typically installed in a laundry room, mudroom, garage, or bathroom, that allows you to wash your dog in a comfortable and convenient manner. Unlike traditional human showers or bathtubs, dog showers are often lower to the ground and include features like handheld sprayers, easy-to-clean tile surfaces, and gentle ramps or steps for dogs to enter.
Why Are Dog Showers Becoming Popular in Edmonton?

Edmonton’s climate is well known for its cold winters and rainy seasons, which lead to muddy paws, wet fur, and endless trips outside. For many pet owners, especially those with larger dogs, this creates an ongoing mess in the house, requiring frequent cleaning. Dog showers are a great solution to this problem. They provide a dedicated space to wash off dirt and mud before your dog tracks it into the rest of the house.
Moreover, dog showers are becoming popular due to their practicality, ease of use, and the added value they bring to a home. As more people in Edmonton adopt pet-friendly lifestyles, features like a dog shower can increase your home’s appeal and resale value.
Benefits of Installing a Dog Shower in Your Edmonton Home
1. Convenience and Comfort

Washing your dog in a traditional tub or shower can be cumbersome, especially for larger dogs or those that aren’t fond of bath time. A dedicated dog shower is designed with your pet’s comfort in mind. The lower height eliminates the need to lift your dog into a tub, making bath time easier and safer for both of you.
Additionally, a dog shower is incredibly convenient after a walk in the snow, a play session in the backyard, or even just after a rainy day. Instead of bringing your dirty pup through the house, you can take them directly to their designated cleaning station.
2. Keeps Your Home Cleaner

One of the most immediate benefits of having a dog shower is the positive impact it has on your home’s cleanliness. Muddy paws, shedding fur, and water splashes can be contained in one easy-to-clean area, rather than your living room or kitchen. Edmonton’s wet and snowy weather can quickly lead to a messy home, but with a dog shower, you have a place where cleanup is simple and contained.
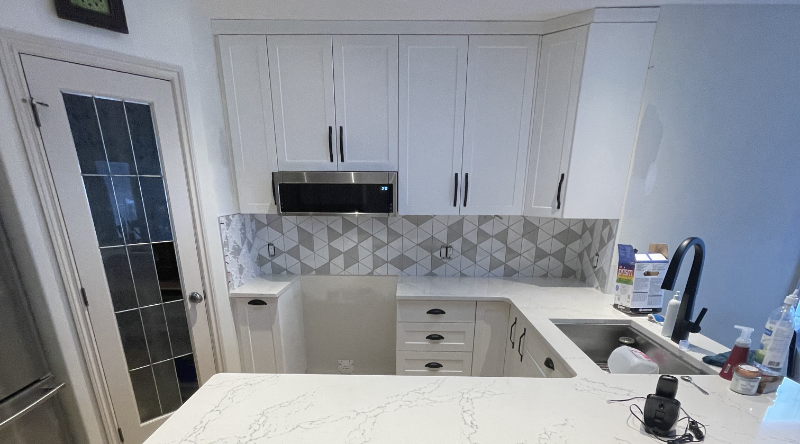
3. Customizable Design

When working with a professional tile installation company in Edmonton, you can customize your dog shower to meet both your aesthetic and functional needs. From choosing non-slip tiles to incorporating stylish fixtures, a custom dog shower can blend seamlessly with your home’s interior design.
Moreover, the installation can be tailored to suit the size and breed of your dog. Larger dogs may benefit from a shower with a bigger basin or more robust fixtures, while smaller breeds can enjoy a gentler, lower flow of water. This customization makes it a highly practical addition to any home.
4. Reduces Stress for Your Dog

Many dogs don’t enjoy bath time, especially when forced into a space designed for humans. A dog shower makes the experience more familiar and less stressful. The lower basin and handheld sprayer allow you to wash your dog in a way that feels more natural and calming for them. Additionally, you can control the water pressure and temperature to ensure your pet is always comfortable.
5. Increases Home Value

Pet-friendly homes are in high demand, and unique features like a dog shower can add significant value to your home. Not only does it appeal to potential buyers who own pets, but it’s also seen as a modern, functional improvement that makes daily life more convenient. In a competitive housing market like Edmonton, this can make your property stand out.
6. Saves Time and Money

Regular grooming appointments for your dog can add up quickly, both in terms of time and cost. With a dog shower at home, you’ll be able to bathe your dog whenever necessary without the hassle of scheduling professional grooming services. This DIY approach can save you hundreds of dollars over time while ensuring your pet stays clean year-round.
What to Look for in a Tile Installation Company in Edmonton

When installing a dog shower, it’s crucial to work with an experienced tile installation company that understands both the functional and aesthetic requirements of the project. Here’s what you should look for:
1. Expertise in Custom Installations
Dog showers require a specific design approach that accounts for water resistance, safety, and durability. Ensure that your installer has experience in custom projects and can guide you in selecting the best materials, such as non-slip tiles, waterproof grout, and appropriate plumbing fixtures.
2. Knowledge of Local Regulations
A professional installer in Edmonton will be familiar with any building codes or local regulations related to plumbing and water usage. This ensures that your dog shower installation is compliant with the city’s guidelines and functions properly for years to come.
3. Portfolio and Reviews
Ask to see a portfolio of similar installations the company has completed in the past. Positive reviews and testimonials from other dog owners in Edmonton can also provide insight into their quality of work and customer service.
Conclusion

Installing a dog shower in your Edmonton home is a game-changer for any dog owner. From the convenience of easy baths to keeping your home cleaner, the benefits are clear. By working with a local, experienced tile installation company, you’ll be able to create a space that’s both functional and stylish, tailored to your dog’s needs. Not only will this addition make pet care easier, but it will also enhance your home’s value and appeal.
For Edmonton residents, investing in a dog shower is a practical and valuable decision that simplifies life with pets while ensuring your home stays fresh and clean.