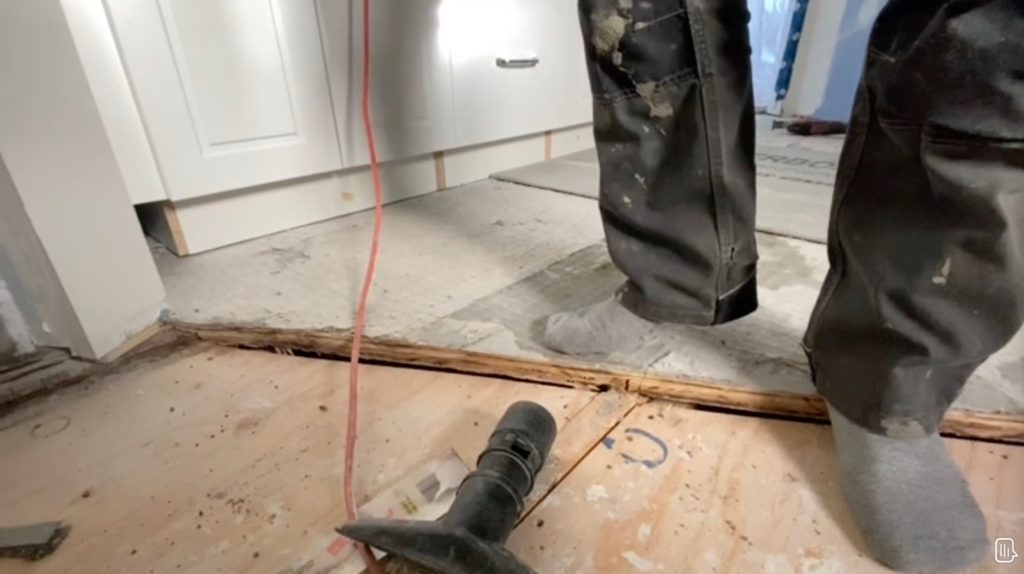
For this job. We replaced an old tile tub surround with new boarding, waterproofing, and tile. For the floor, we demolished tile, replaced substrate underneath and installed anti fracture membrane before laying the new tile. The substrate underneath the old tile was rotted.
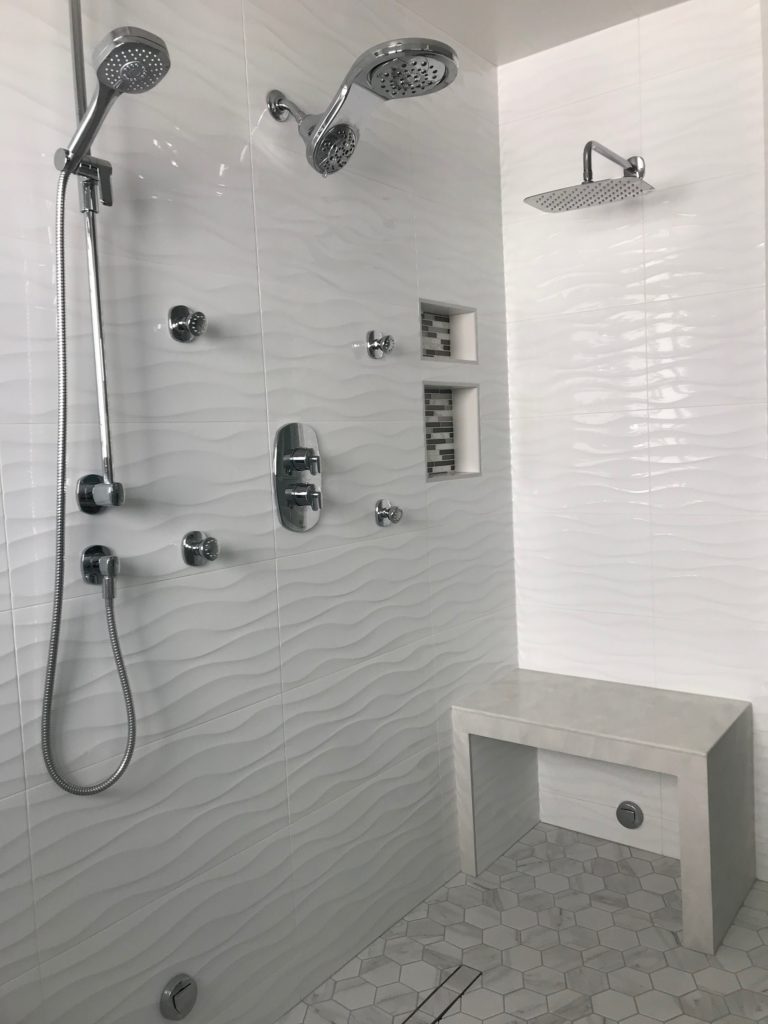
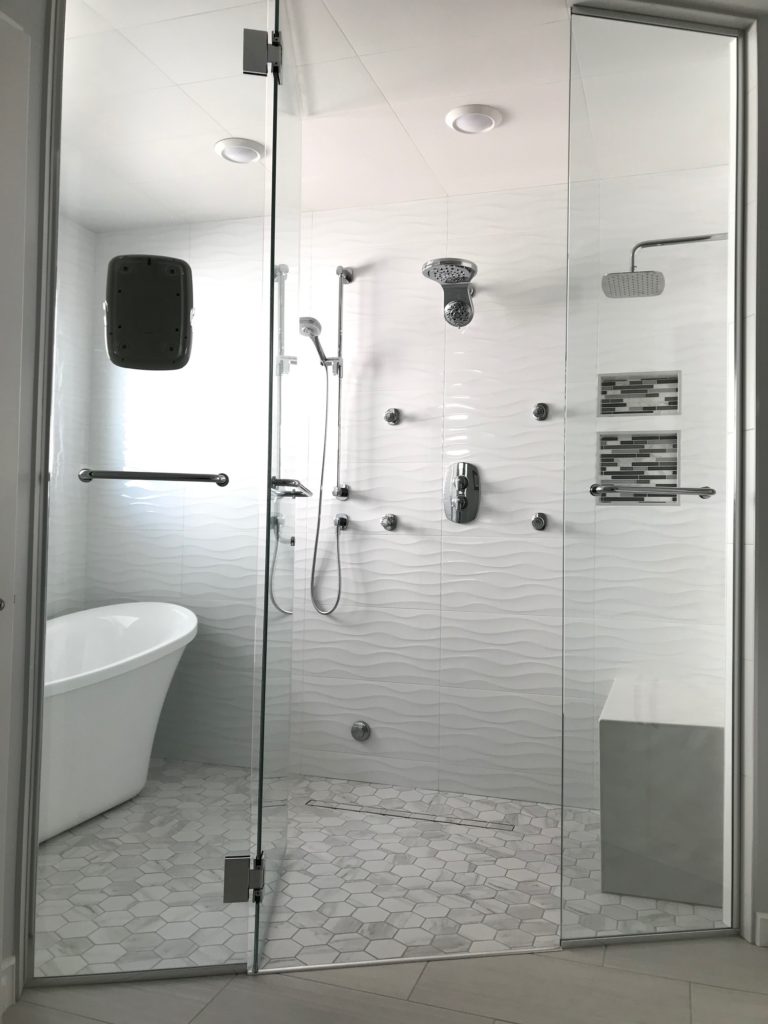
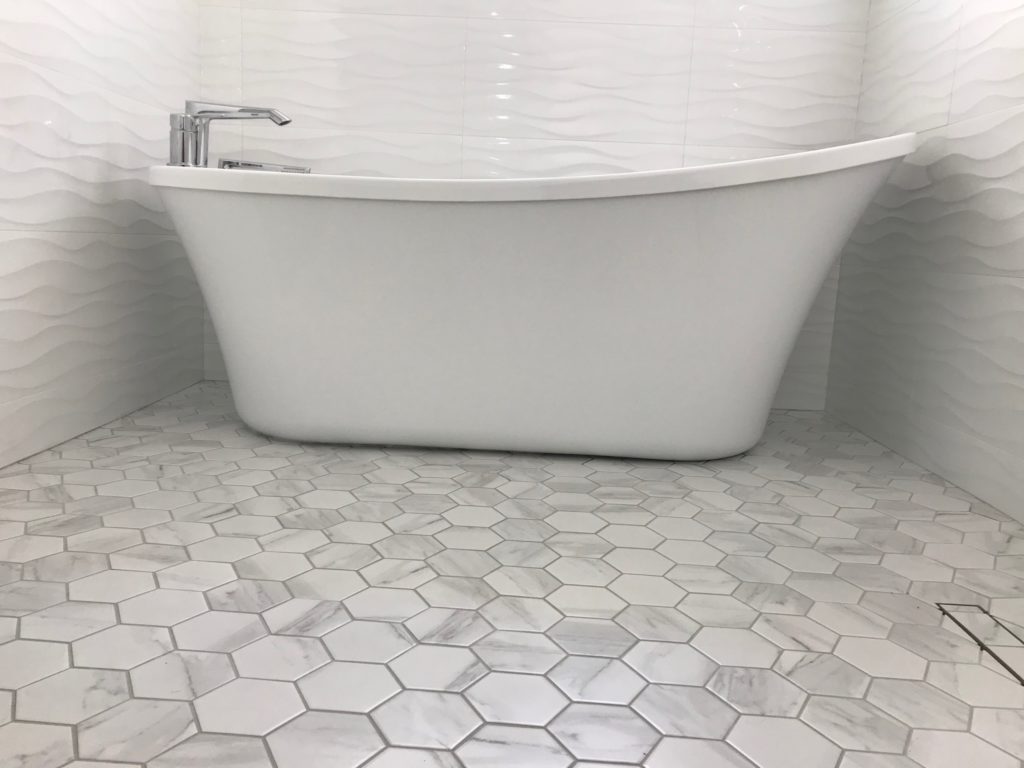
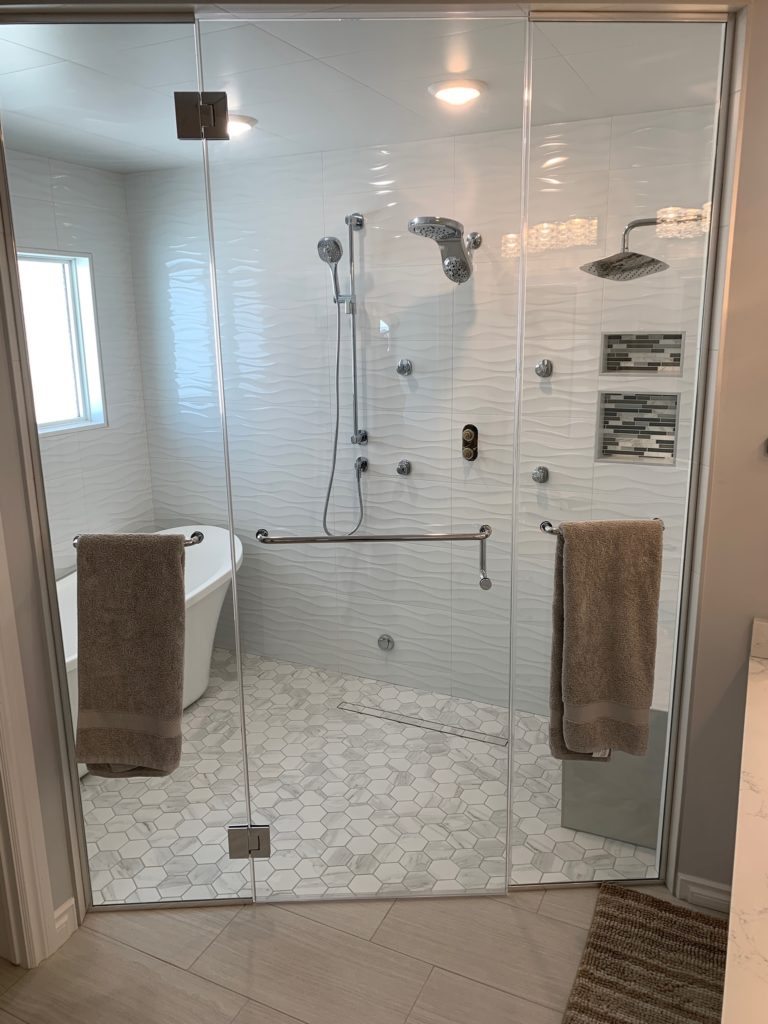
In this Bathroom Reno located in the Hollick Kenyon Area of Edmonton. We had to rebuild the client’s trust in contractors as the last one that left midway through did a number of things wrong. In collaboration with Dustin from 4 O.A.K. Construction we did just that. This is an ensuite bathroom with a wet area in which there is a self standing tub and a number of fixtures for the shower including jets, rainfall shower head, handheld and steam shower outlets.
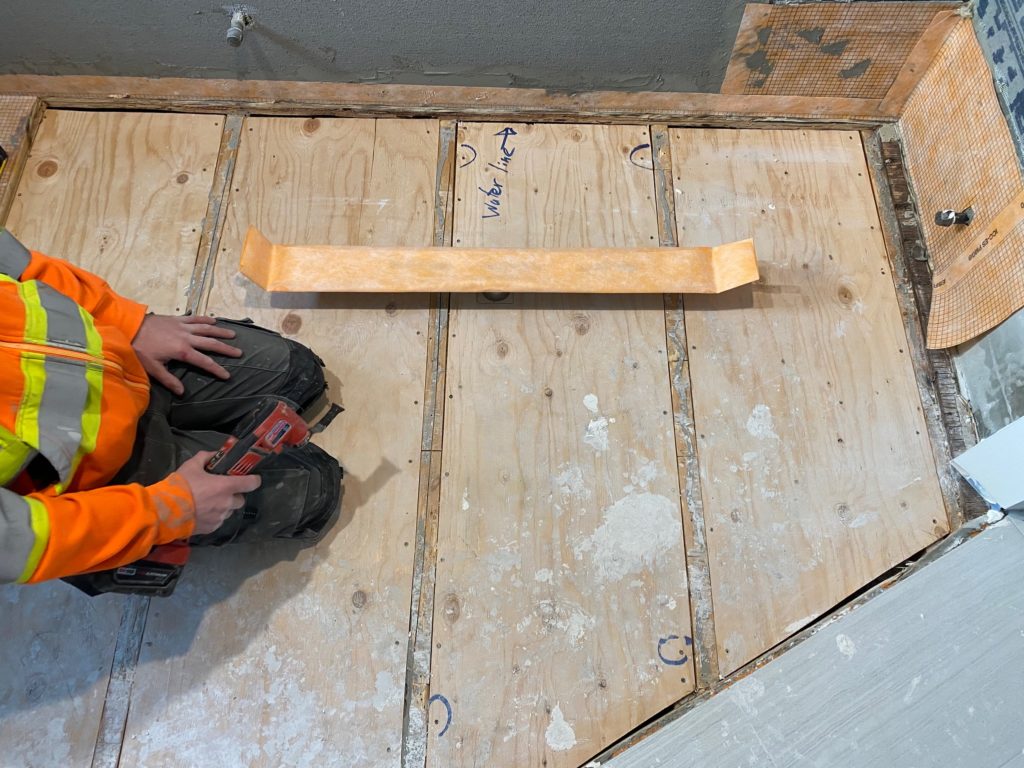
We started by cleaning up the mess from the previous contractors. We removed the cabinets, demolished all the tile already laid, and ditra membrane. Removed the drain kit as well. We had a professional plumber, Marvin, from Beyer Plumbing check that all the rough in was properly installed.This is how the previous failure contractor left it:
After demo, we dropped the floor level of the shower so we could have a barrier less shower entry. Please see photo below
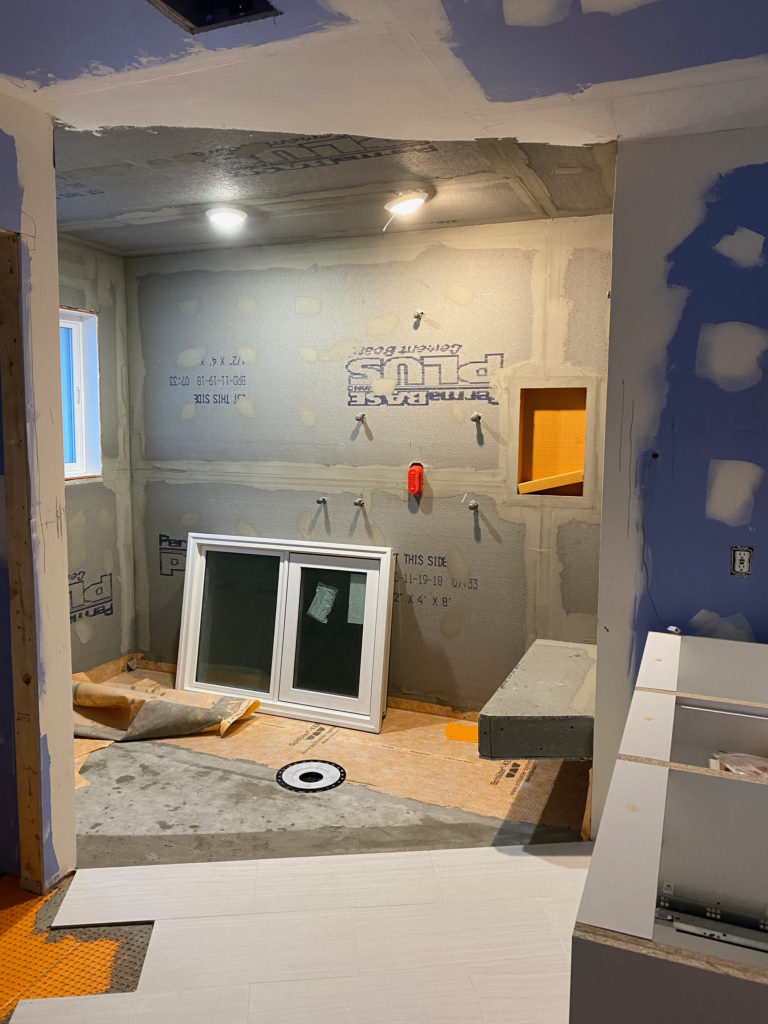
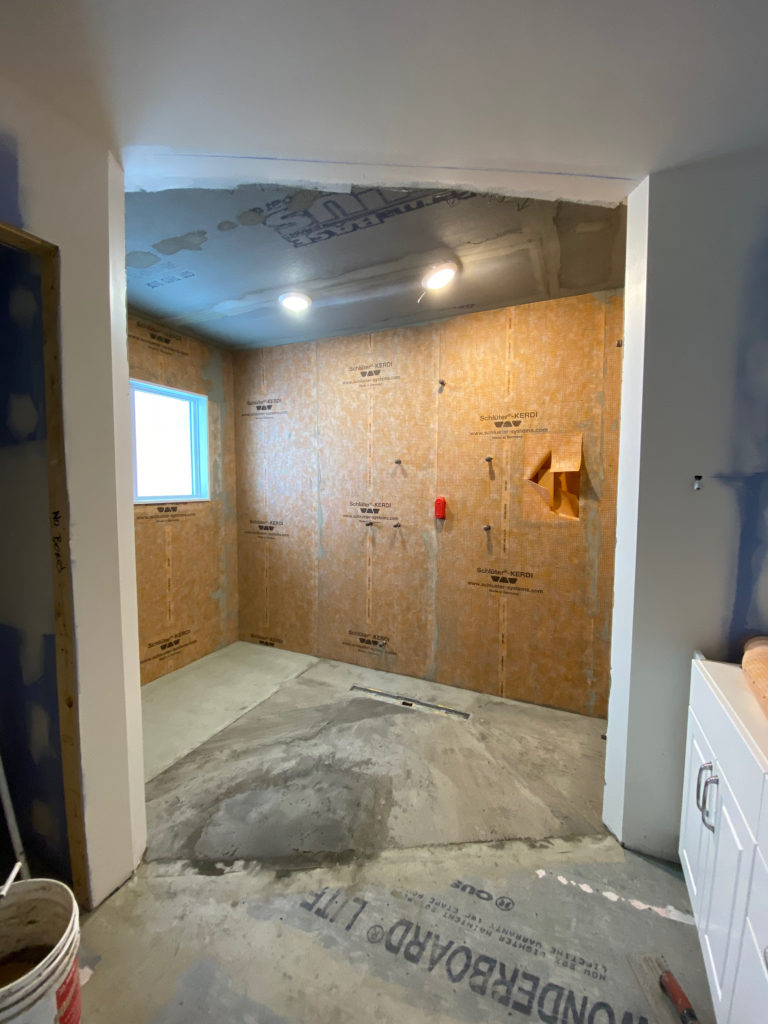
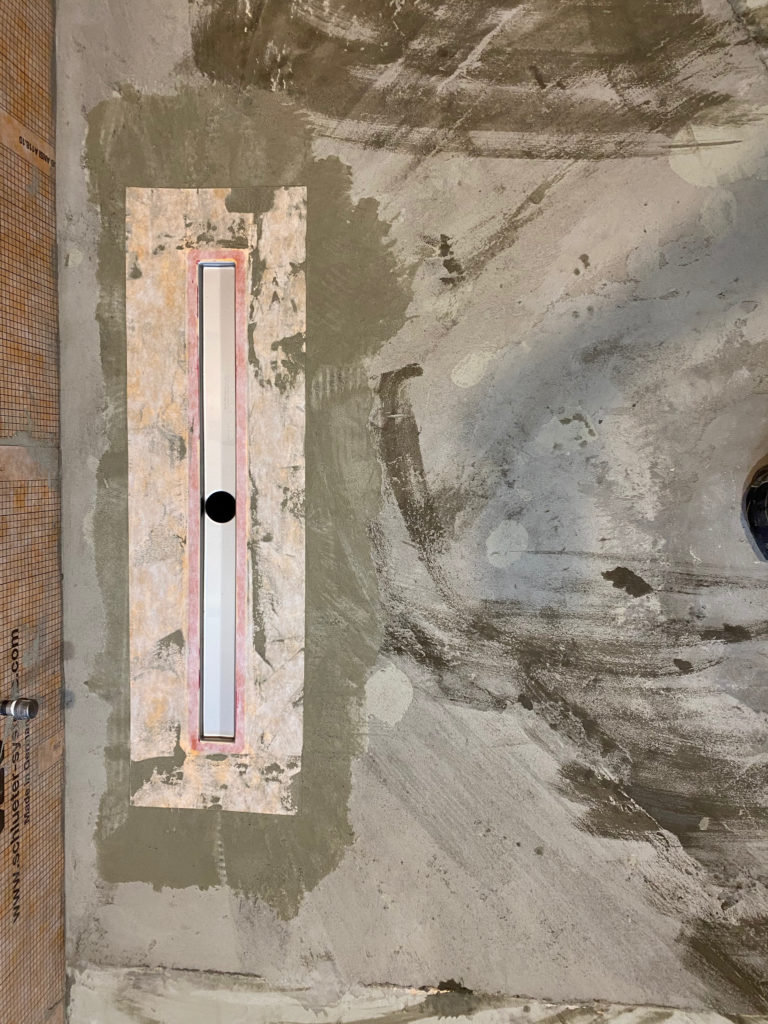
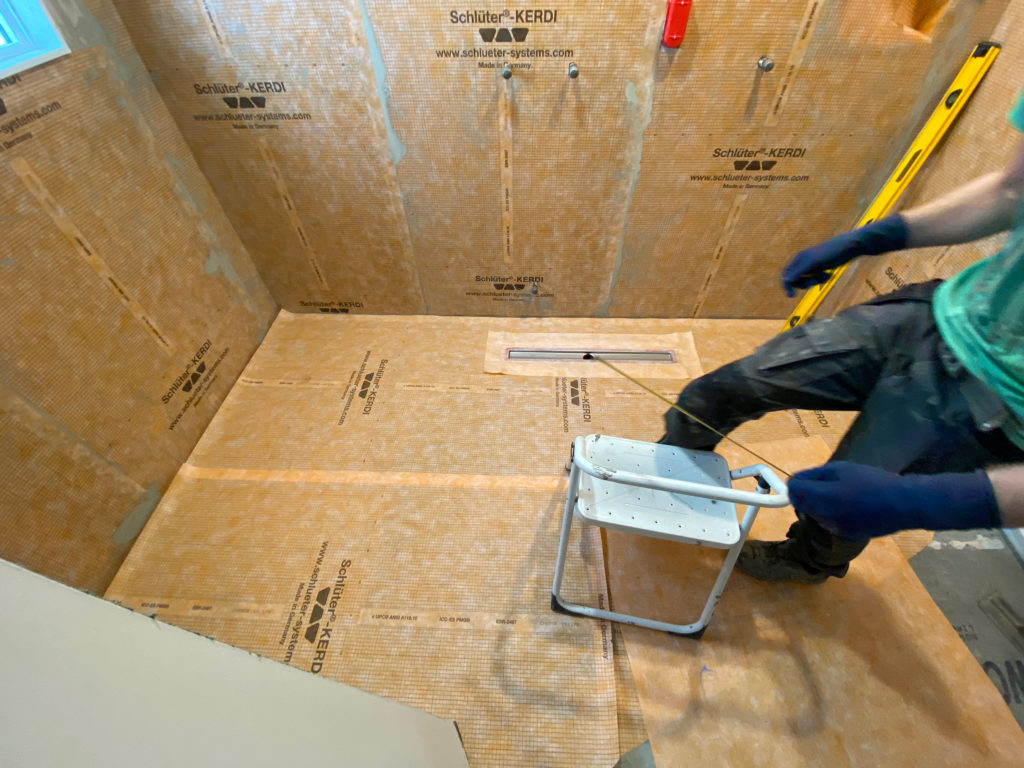
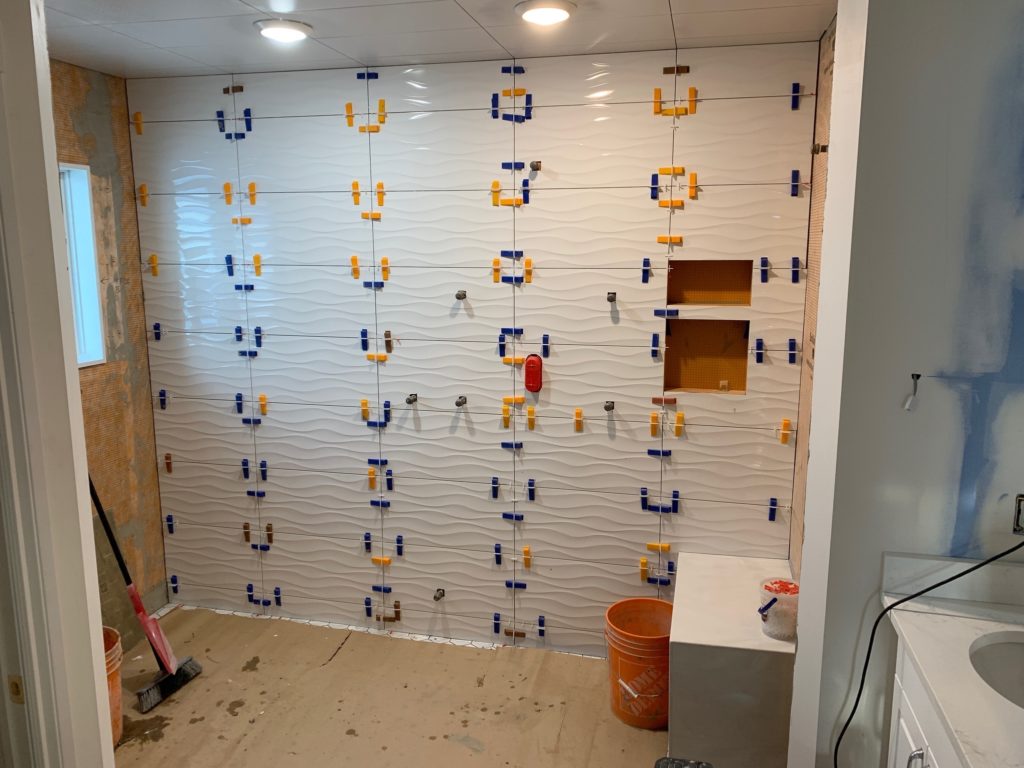
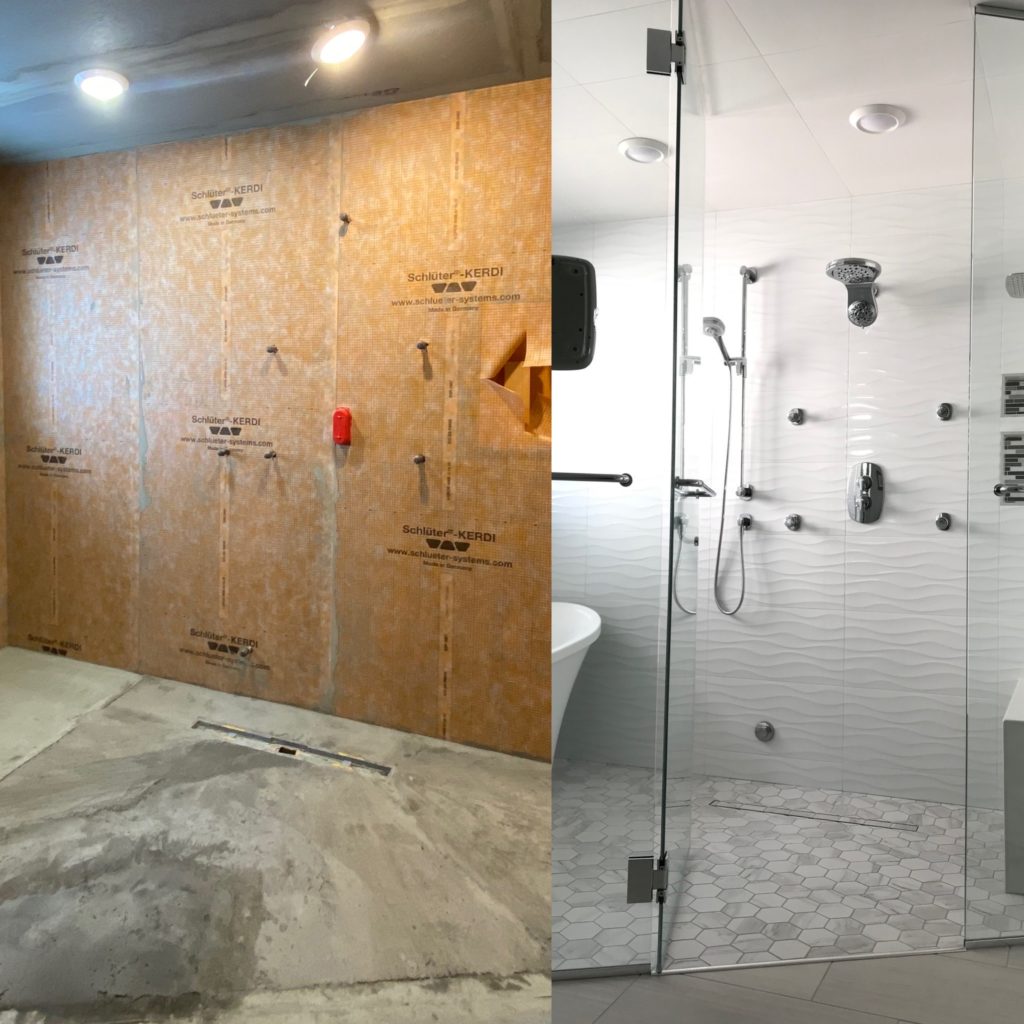
We’ve now waterproofed the entire Wet Area. There is going to be a self standing tub and a full shower with a bench, and many outlets including a steam shower. We build the bathroom floor up with wonder board so we could increase the starting height of the shower slope.
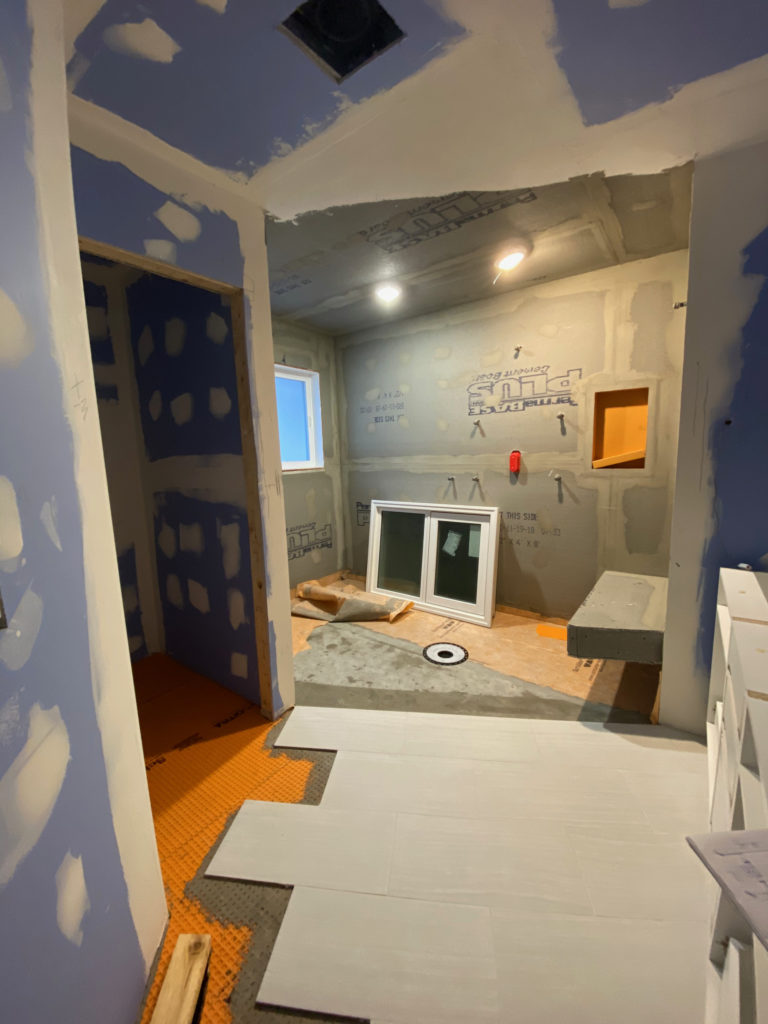
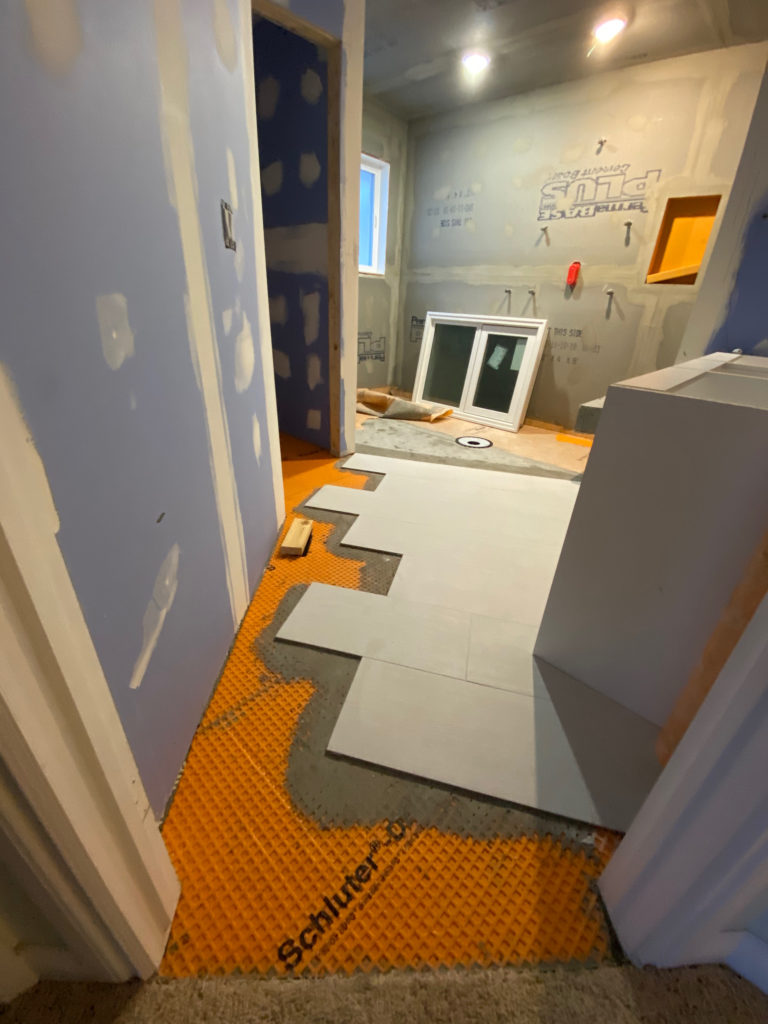
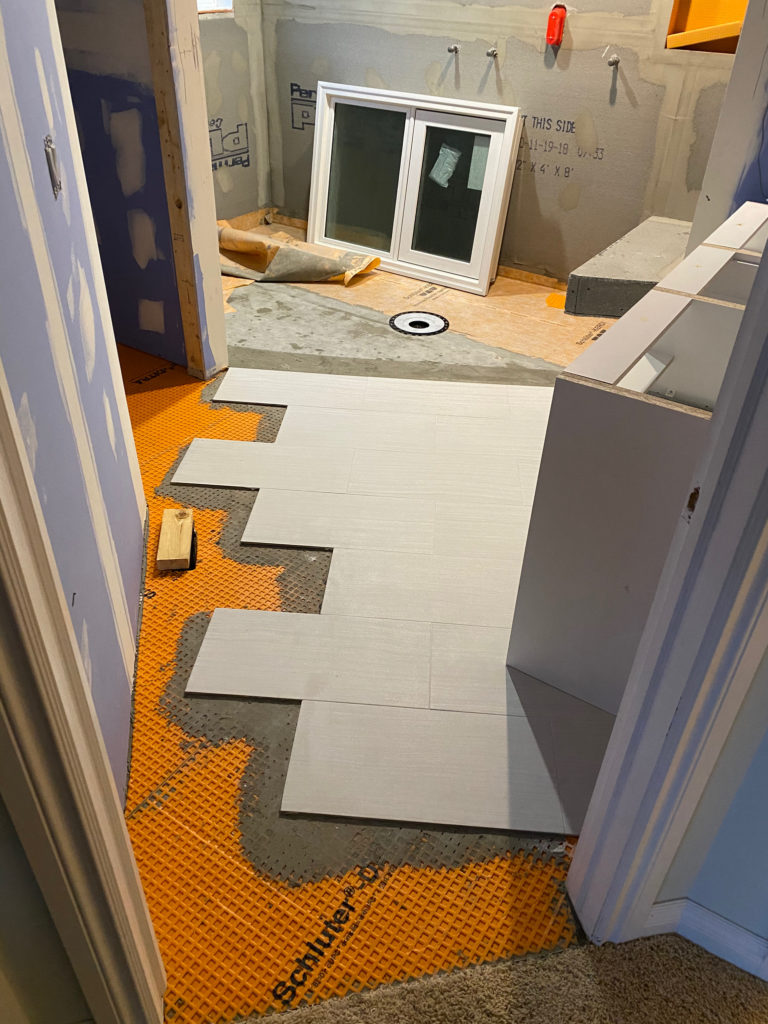
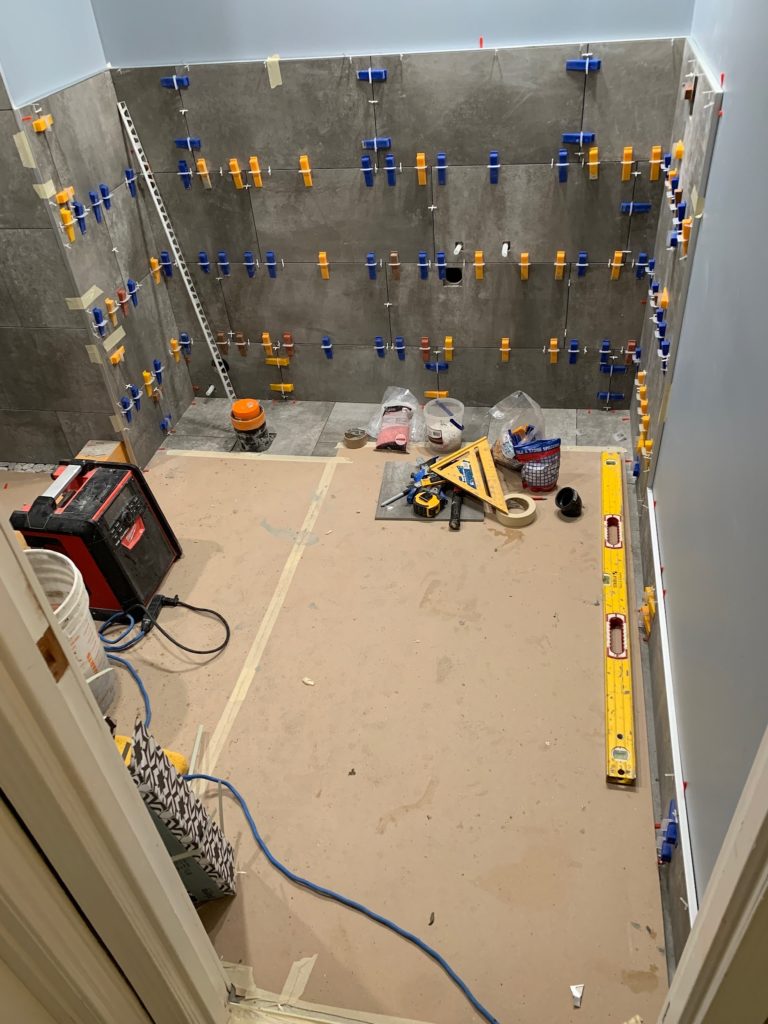
Next we tiled the bathroom floor and shower floor and back wall
One thing after another and the bathroom is now complete.
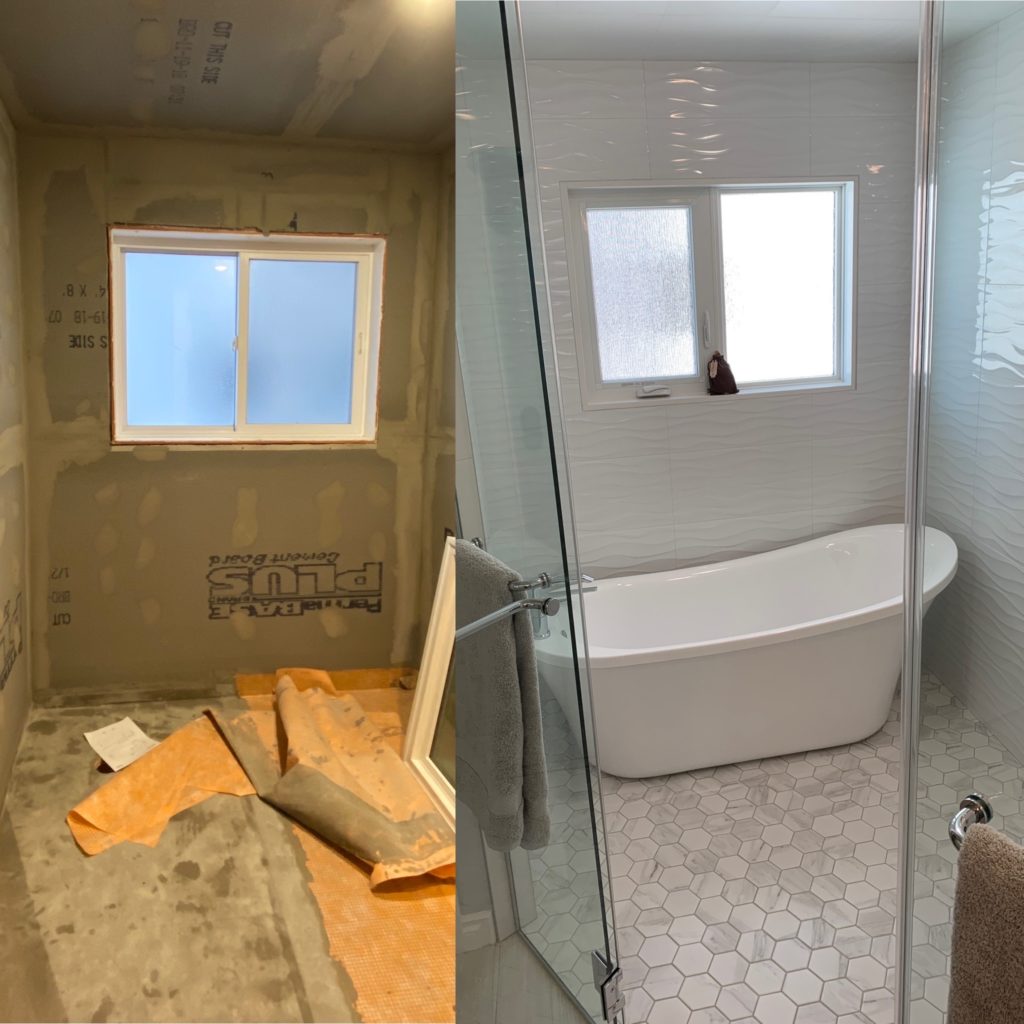
Here we show some before and after pictures hand in hand
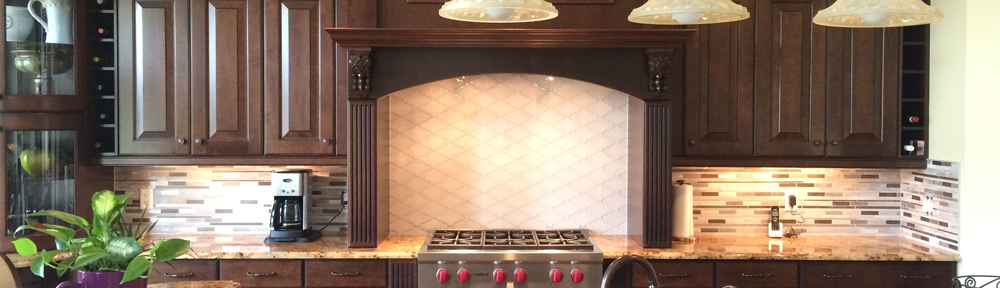
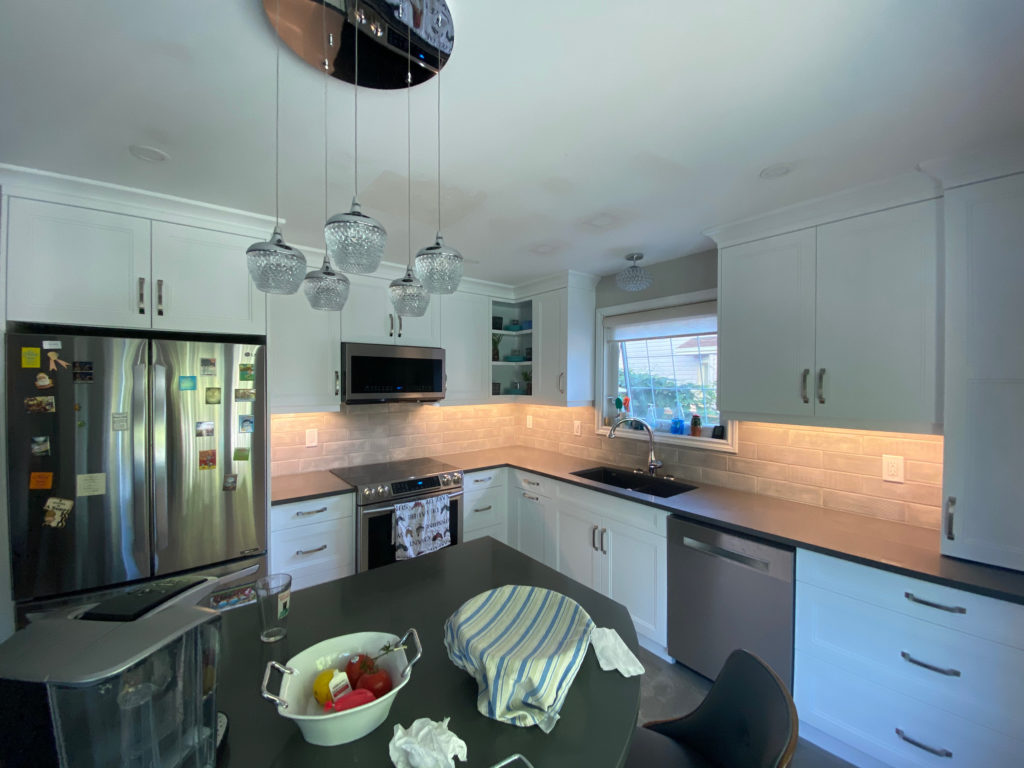
For this Kitchen Backsplash we just came in to a ready for install Splash. Client picked up this tile from TierraSol. He had done the demo and installed new cabinet and new counter tops. New kitchen tile backsplash turned out beautifully!
In this project the client was doing a Basement Bathroom. Growing families need an extra bathroom in the basement 100%. Our client had a lot of the knowledge needed for the entire project but he was very busy with his Brewery. We actually had the honour of getting a few of their beers to taste at home with our loved ones.
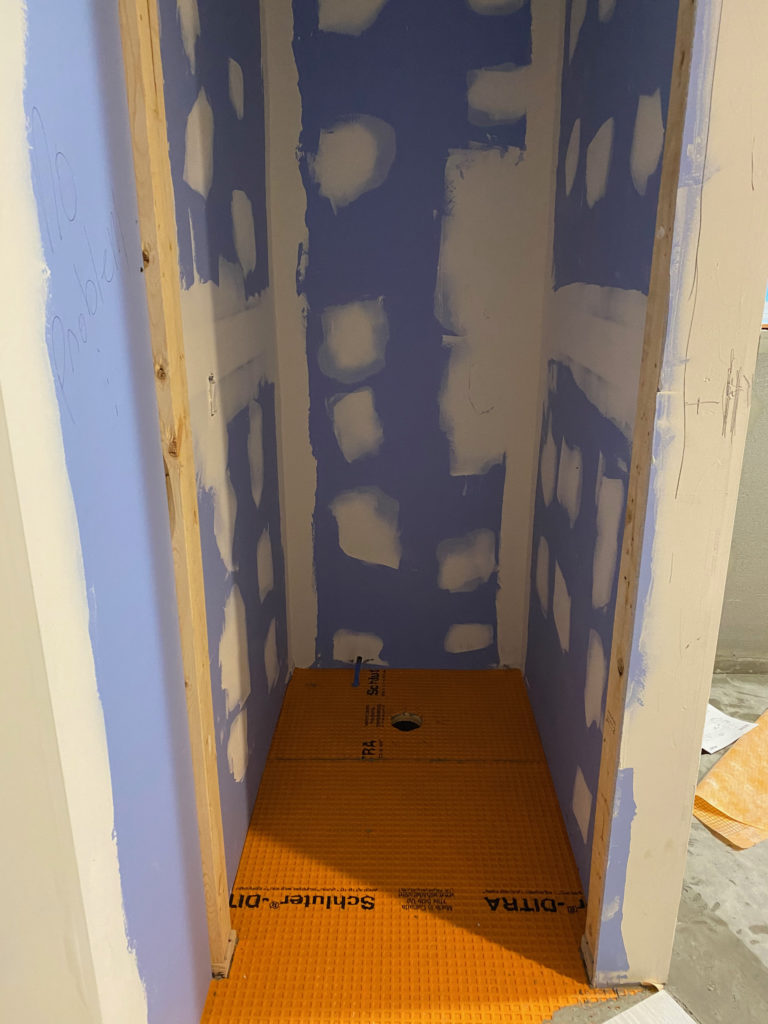
When we came in the plumbing and concrete were already done. We did small amount of levelling with CustomTech TechLevel 150. That takes about 4 hours to cure so we had left this for the end of day and went home.
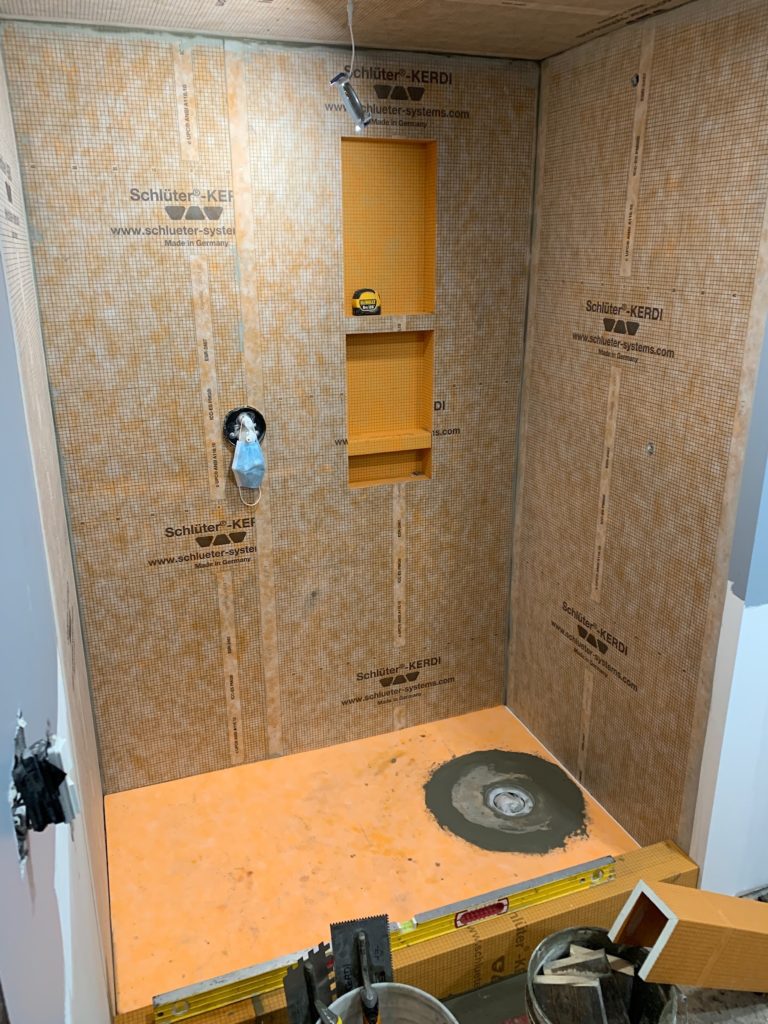
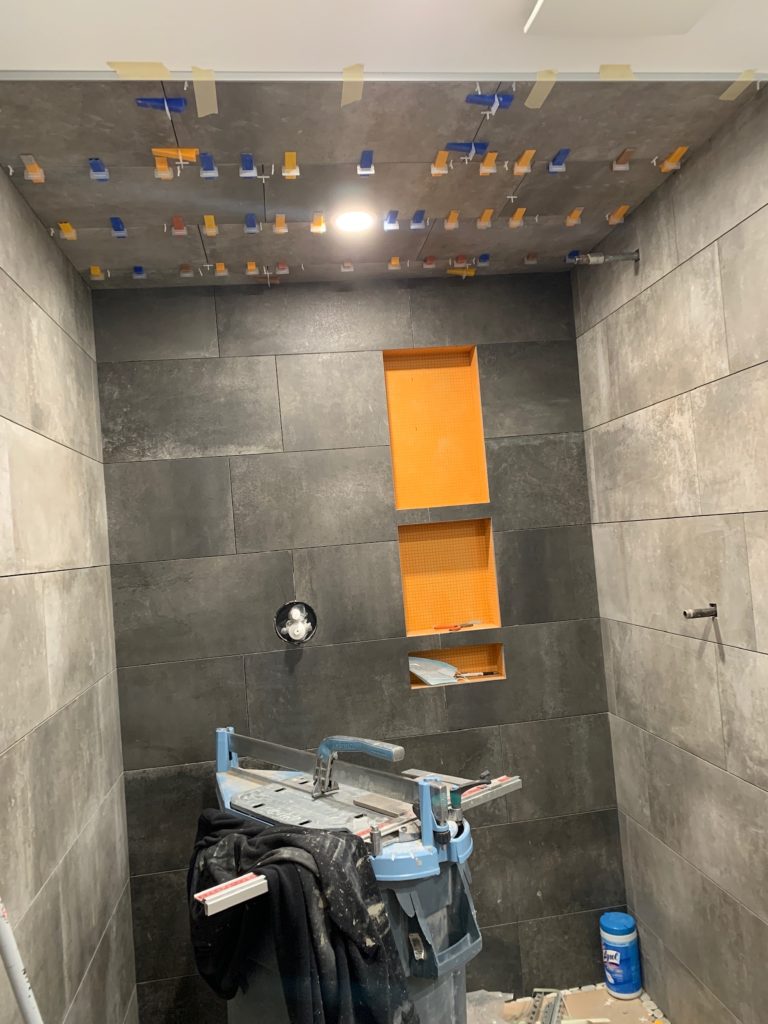
Following day we got down to business. Opened up the back wall where the niche is going to be located and place all the support necessary, etc. Installed a 38×60 Schluter Shower Kit and tied it all together with the niche and ready to tile.
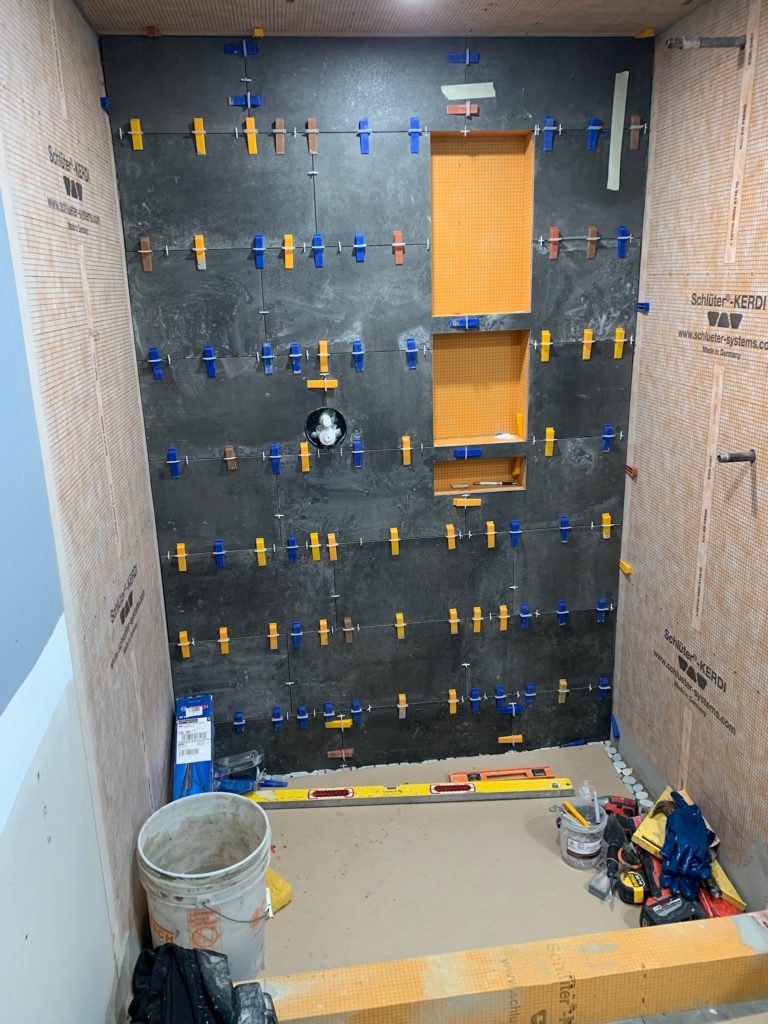
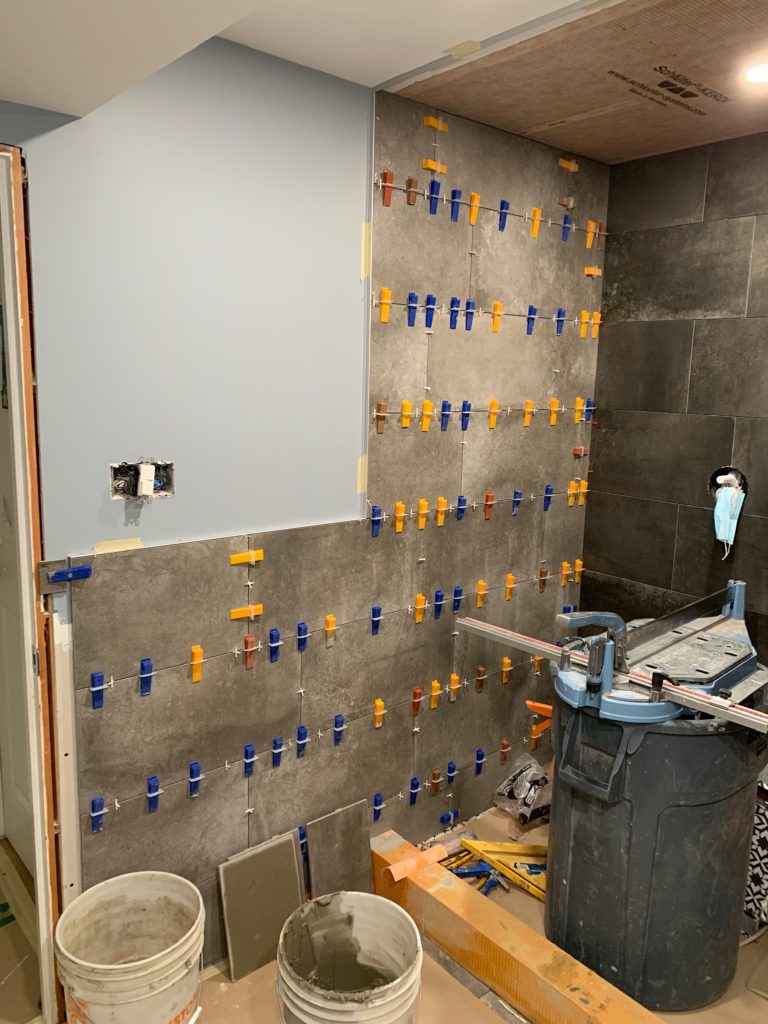
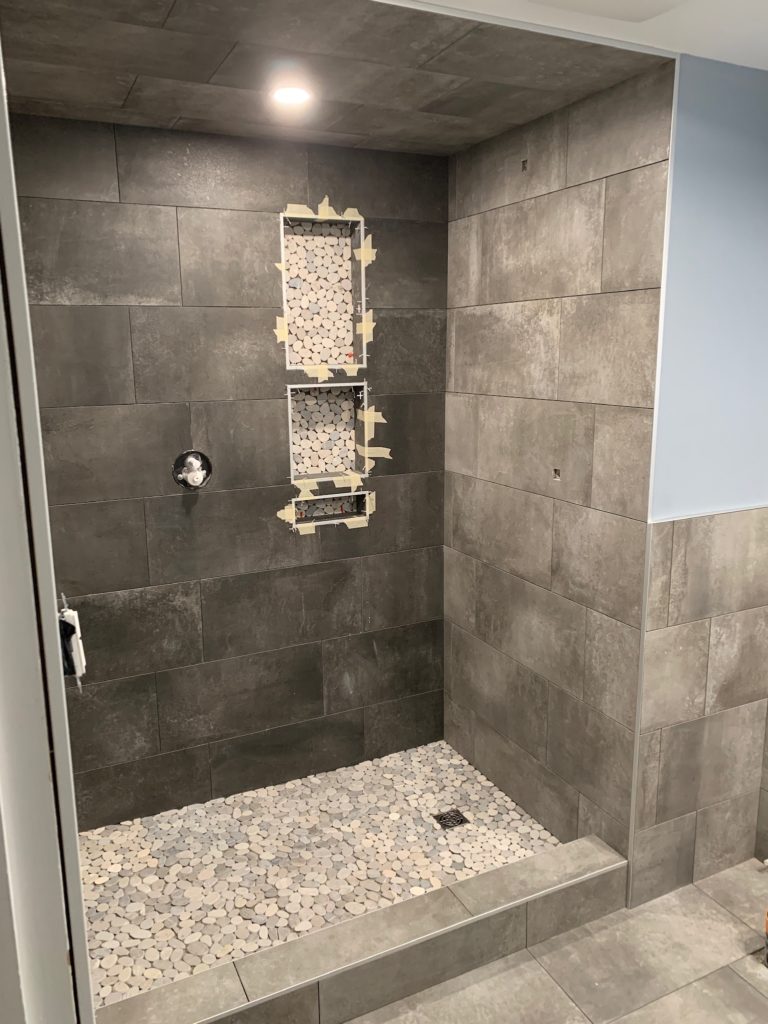
They had us do the shower base and back of the niche with a mosaic tile. The rest of the shower and bathroom area with 12×24 but with 2 different shades of the same series of tile. All the tile was great to work with and it was supplied by our good friends from TierraSol.
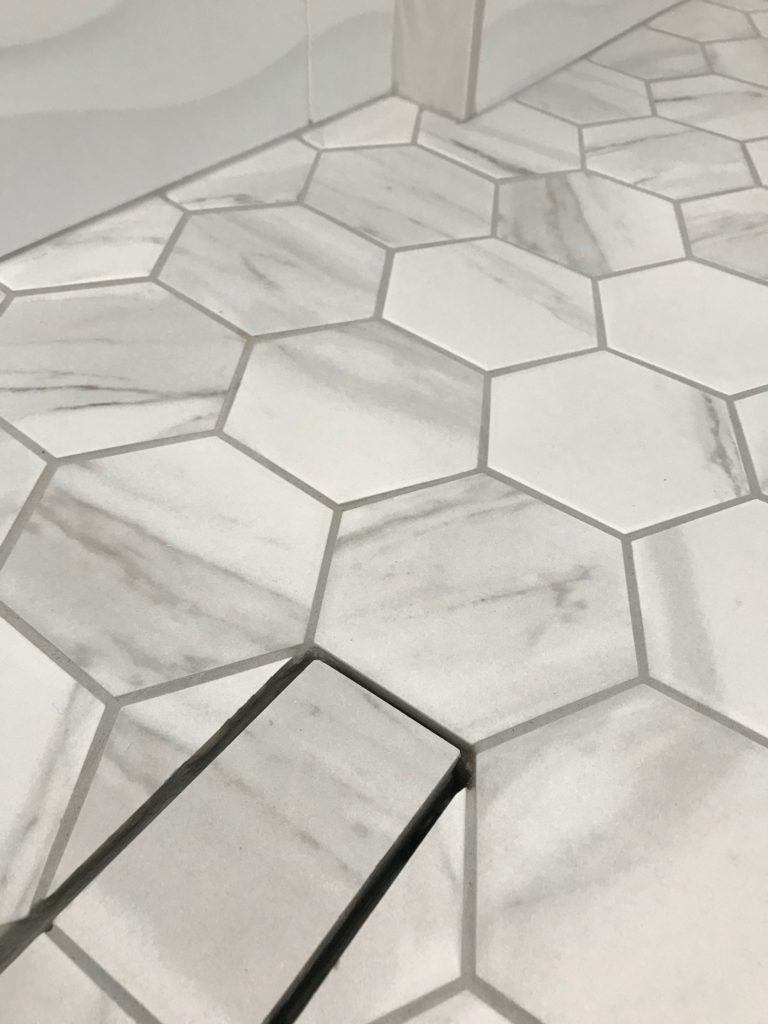
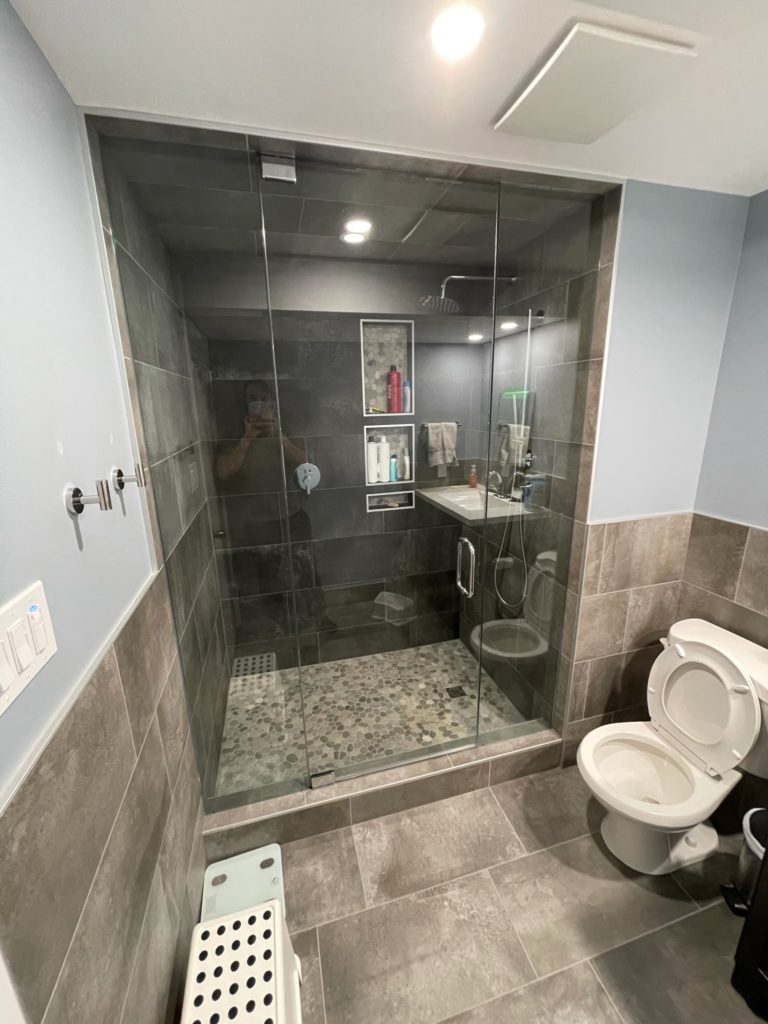
The bathroom floor area got tile on all walls up about 43″ high. All grouted with our number one pick grout Custom Prism. Final stage was the custom glass which took the bathroom from a 10/10 to a 15/10 😉 Here are other examples of what floor tile could be used for bathrooms like this
Before and after Pictures of Basement Bathroom:
Basement Bathroom Complete
Thanks you to the Oswald Family for this wonderful opportunity and for more Shower Installations check out this other cool project
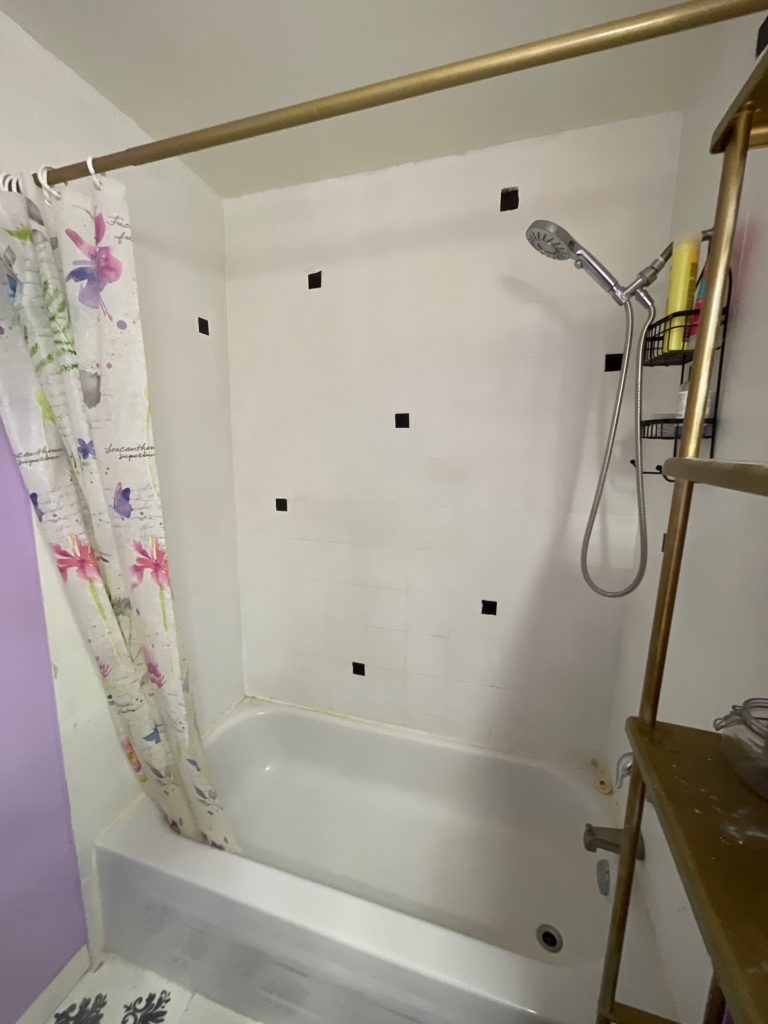
This Bathroom renovation was done due to a leak on shower from original construction of the shower. The leak originated from the bench form inside corners and it leaked to the back wall of the shower into our clients walk in closet.
Here are some before pictures of the shower and a video of the demolition stage of the bathroom shower.
Here is a time lapse video of the demolition stage
With all the demolition completed, our plumbers and electricians came in for rough in. This shower our client selected a Riobel Fixture with 2 outlets. A handheld with an adjustable anchored bar and a shower head dead centre of the back wall. Beautiful things about this Riobel fixture that our client loves is the preset temperature mixture valve which you can set one to the desired temperature and never really have to touch it again. Just turn on the water and temperature will always be the same.
Our client selected a lit niche for this shower with 2 ceiling pot-lights. American Lighting and Prizm Lighting have great solutions for this application.
Now we’re onto the boarding stage, waterproofing and tile. We use the Schluter Waterproofing systems for most of our showers. We also work with the Wedi Shower Systems, as well as Custom Building Products, Ardex, Laticrete, & Mapei if our client has a preference. Typically client look at us for making that decision and Schluter has always done good by us so we keep on using them.
With all the tiling done, and grouting complete. Our glass installation take place.
The big final step, all finishing touches. The lit niche requires a few extra steps to work well with the tiling. Electrician & plumbing final come through. Silicone our vertical and horizontal plane corners and she’s is good to go.
We want to take this moment to Thank Brett & family for choosing us & giving us the honour to do this job for them. It was a wonderful time for us to do the work for you guys. We would love to hear from you in the future for your future tiling needs.
Here is a small video clip of what the inside looks after all is done.
And lastly a before and after side by side picture of the job finished up.